Which poles are for you?

Urban Poles for Fitness
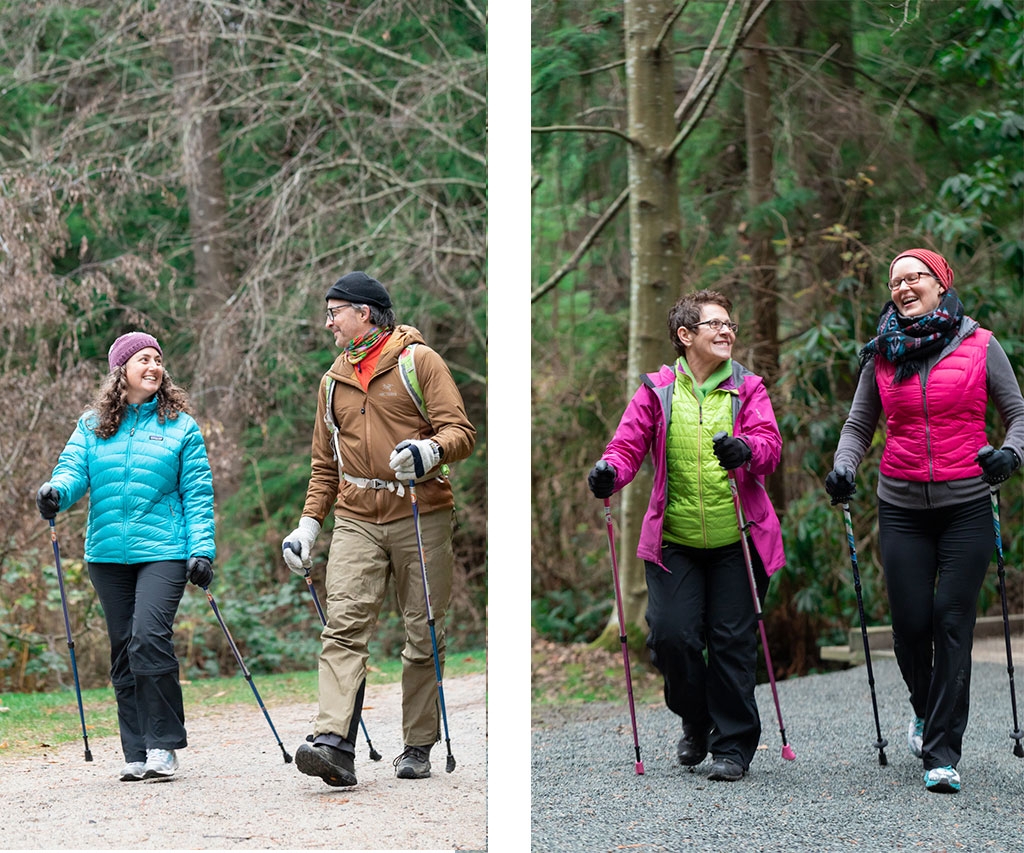
Looking for a more intense workout over regular walking?
Choose between: Series 300, 4Life (pink) or Spirit Poles
Our Urban fitness poles burn more calories, tone your core and at the same time take pressure off your lower joints. Versatile for for hiking, winter walking & snowshoeing.
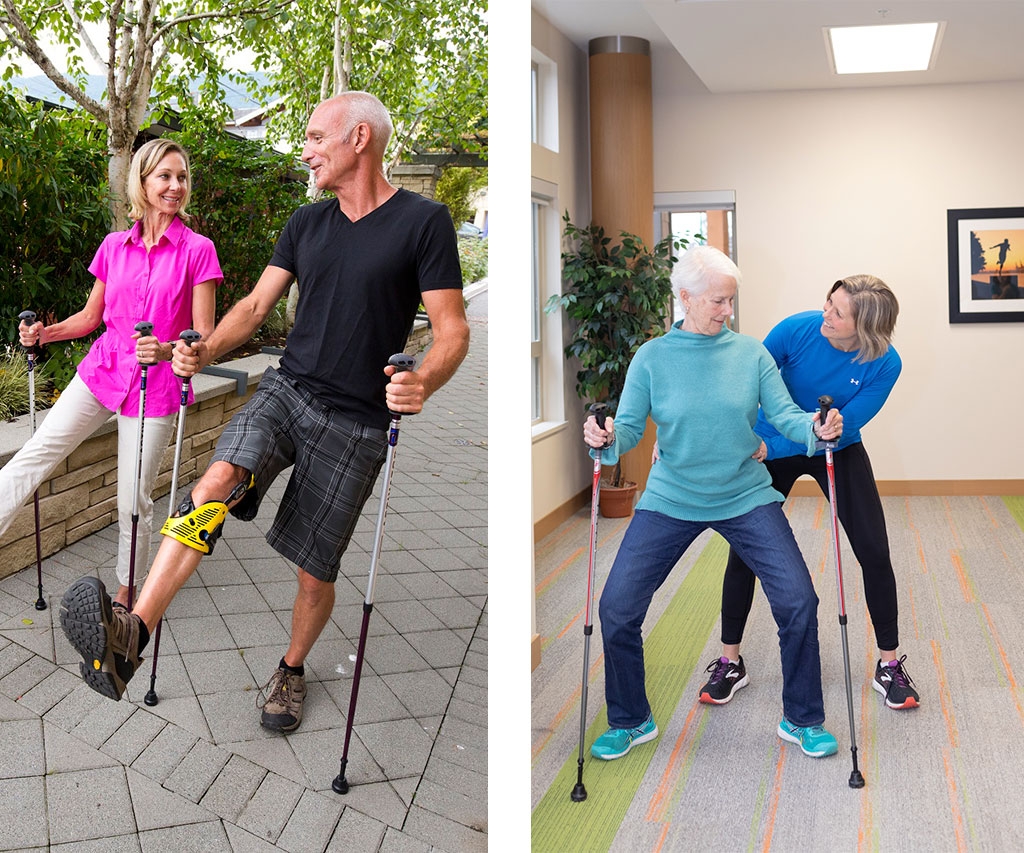
ACTIVATOR Poles for Balance, Hip & Knee Joints with Osteoarthritis and Rehab
Patented, evidence-based ACTIVATOR Poles (FDA registered) are designed for balance and taking more pressure off your back and lower joints. For use indoors as well as outdoors.
Suitable for:
– Hip and knee osteoarthritis
-Pre and post hip & knee replacement surgery
-Post spinal stenosis surgery
– Conditions that affect your balance: Parkinson’s, MS, Stroke
– Rehabilitation programs
-Older Adults Programs – Minimizing the Risk for Falls
Ask your doctor or rehab professional
if ACTIVATOR Poles are for you!
–

Activator® Instructions
How To Set Up Your Activator® poles
How To Do The Activator® technique
ACTIVATOR® Poles
Did you know that there are 19 current/recent studies on the ACTIVATOR® Poles at hospitals and universities across Canada and at the renowned Royal National Orthopedic Hospital in the UK? Benefits may include improved core strength, posture, balance, improved confidence for walking; reduced impact on hips and knees and increased endurance! Health Care Professionals are recommending the ACTIVATOR® Poles for rehab and many conditions because they were designed by an Occupational Therapist & Gerontologist and have eight unique features for increasing safety, performance and stability. We hope you enjoy the ACTIVATOR Poles that have been built for walking and active living!
Unique Components of the ACTIVATOR® Poles:
Button-Locking System: An easier and safer method vs turning locking systems. 200 lbs (90 kg) of weight bearing capacity per pole. Maximum suggested weight of user: 250 lbs (113 kg)
New – Ergonomic CoreGrip (patented): Designed for improving core strengthening while providing greater comfort and supporting the wrist in a neutral position to reduce strain.
Wide Ledge instead of a Strap: To reduce the risk of injuries. A study by Knobloch et al. (2006) found the highest rate of injury for Nordic walking is when the person is still attached to the poles during a fall.
Bell Shaped Tips: Provide greater stability than boot shaped tip
3 Anti-Vibration Features: Reduce vibration and impact on joints
Carbide Steel Tip: Provides stability on slippery conditions and on trails & beaches.
Telescoping: 4′ to 6′ (121 to 182 cm). Poles are collapsible for storage & travel
New – ACTIVATOR2 Poles designed for taller individuals up to 6′ 4″ (195 cm) and collapses shorter for travel 25″ (63 cm). Maximum user weight: 325 lbs (147 kg).
Adjusting Your ACTIVATOR® Poles
When you first get your poles you will need to adjust them for your height.
Step 1: Stand tall with your poles upright and relax your arms so that your elbows rest at a 90-degree angle. This is the correct pole length for your height.
Step 2: Notice the perforated holes on the top portion of the pole. Pull the bottom portion of the pole downward and turn it until the silver stripe lines up with the holes. Continue to pull down on the lower part of the pole until the button pops into the correct hole for your height. You may need to adjust the pole slightly up or down before the button locks securely into place.
Adjusting Your ACTIVATOR® 2 Poles
Extend poles: Open both flip-locks tabs (grey). Pull below flip-lock to extend the middle and lower sections. Lower section may be stiff to pull initially.
Set pole length: Adjust the pole length so that you can stand with your elbow bent at slightly less than a 90 degree angle with your hand resting on the ledge of the CoreGrip and the bell tip resting on the ground.
Secure button lock A-B: Looking at holes A and B in the middle section, turn the lower section of the pole until you see the white stripe in the holes marked A and B. Pull on the lower section of the pole until the button locks into hole A or B.
Secure button lock 1-6: Repeat above securing the button lock in one of the holes marked 1-6 (depending on appropriate level for your height) in the upper section. Confirm pole length and close flip-lock tabs. Collapsing: open the flip-lock tab, push the button lock and at the same time push in the section Close flip-lock tab.
How To Adjust Your Activator® 2
ACTIVATOR Technique
Step 1: Take hold of your poles
Make sure that the CoreGrip (handle) with the letter “R” is in your right hand and the pole CoreGrip with the letter “L” is in your left hand. Hold onto your poles with an easy grip, making sure your hands go all the way around the CoreGrip.
Stand tall and place your elbows at your sides at a 90-degree angle. Ensure the poles are always completely vertical. Keep your elbows bent the entire time you are walking.
Step 2: Begin walking
Step forward with the poles and walk in the same manner as regular walking: swing your right arm forward (with your elbow bent at 90 degrees) as your left foot steps forward. Keep the poles vertical and in front of your body at all times. Be sure that your upper arms swing forward and backward from the shoulders (not elbows) like pendulums.
Step 3: Check your posture and grip
Don’t grip the handles too tightly. Instead, press down on the Ledge with the outside edge of your hand to engage your upper body and core muscles and to increase your stability and balance. Significant off-loading of weight into the poles will only occur if you are applying a downward force to the Ledge.
Important: This technique was developed in conjunction with the specific features of the ACTIVATOR poles. A study by Bechard (2015 unpublished) at UWO found significant off-loading for the knee joint when using the Activator technique.
Quick Tips
Adapt your poles to different terrains & winter!
Hidden beneath the rubber boot tip of each pole is a sharp carbide steel tip, which provides increased stability on wet and uneven terrain, such as grass, trails, gravel, sand and snow. This feature allows you to stay active all year round and is an excellent tool for helping to prevent falls in the winter time. You can also purchase snow baskets to keep the poles from sinking into the snow while winter walking or snowshoeing. To attach the baskets, take off the rubber tip and push the basket to the 3 grooves and then rotate the baskets until you achieve a tight fit.
Using your ACTIVATOR Poles on your travels
Collapse your ACTIVATOR Poles to their shortest length 29″ (79 cm) or 25″ (63 cm) for the ACTIVATOR2. They generally will fit in a medium size suitcase by placing them on a diagonal. Durable Urban Poling carrying bags are available to protect poles while in storage and in transit and makes it easy to take your poles with you. You can also use the carrying bag instead of a purse. Take the rubber tip off to expose the carbide tip for walking on trails, beaches and hikes.
Replace your tips periodically
Your ACTIVATOR poles come with a high-grade rubber tip for stability, off loading & reduced vibration. Replace your bell shaped tips when the treads wear out, or roughly once a year with regular use.
Gradually Increase your time
Start by using your poles for only 1/3 of your maximum walking time and gradually increase your distance/time.
Take care of your poles
Store your poles in a dry, moderate-temperature location. You can also purchase a carrying bag for travel or storage.
Read carefully through the User’s guide and the precautions listed before using your ACTIVATOR Poles (guide comes with your poles).
Precautions:
Consult your health care professional (physician, therapist or other) before using the poles if you currently use a cane, crutches or walker; for training; or any medical condition that affects your balance, stability, ability to grip the handles, vision, depth perception or coordination; or if you are currently recovering from an injury or surgery.
DO NOT use the ACTIVATOR Poles on stairs unless trained by a therapist or other health care professional.
ACTIVATOR Poles should not be used on ice.
Always use both poles (except for people with strokes), unless advised otherwise by your healthcare professional.
ACTIVATOR Poles may help to prevent or break a fall, but falling on them may affect pole integrity. Do not use poles that have been fallen on or that have been damaged in any other way.
Replace your poles approximately every 2 years if you are over 200 lbs (90 kg) or a heavier user. Use exceeds more than 5-10 km per week.
Ask your therapist how to use the poles for transferring out of the car and use both poles.
Introduction to Urban Poling
Curious about the walking pole workout? Urban poling (also known as Nordic walking)—think cross-country skiing without the skis—has toning, calorie-burning and posture benefits that have made it popular in Europe for decades and a new workout favourite in Canada. Just grab your poles and go—no need for a pricey spandex outfit or a fancy gym membership!

Here are 10 more reasons to try urban poling.
- 1. It whittles your waist - Your abs tighten each time you push off with your poles. That’s the equivalent of 1,000 abdominal contractions every kilometre or 1,800 each mile!
- 2. Your knees and hips will thank you - The poles let you offload weight from your hips and knees into your upper body. You can walk further, faster or even pain-free.
- 3. It revs up the calorie burning - Research proves it over and over again: urban poling burns up to 20 to 46% more calories than standard walking. Wow!
- 4. It sculpts your arms and shoulders - Urban poling uses 75 percent of your muscles—especially those underused upper body muscles. Hello short sleeves!
- 5. It helps balance your blood sugar - The full-body urban poling workout helps keep blood sugars in a healthy range.
- 6. You’ll straighten up and feel more confident - Your upper back muscles (the ones that pull your shoulders back) tighten each time you plant your poles and press down on the ergonomic handles.
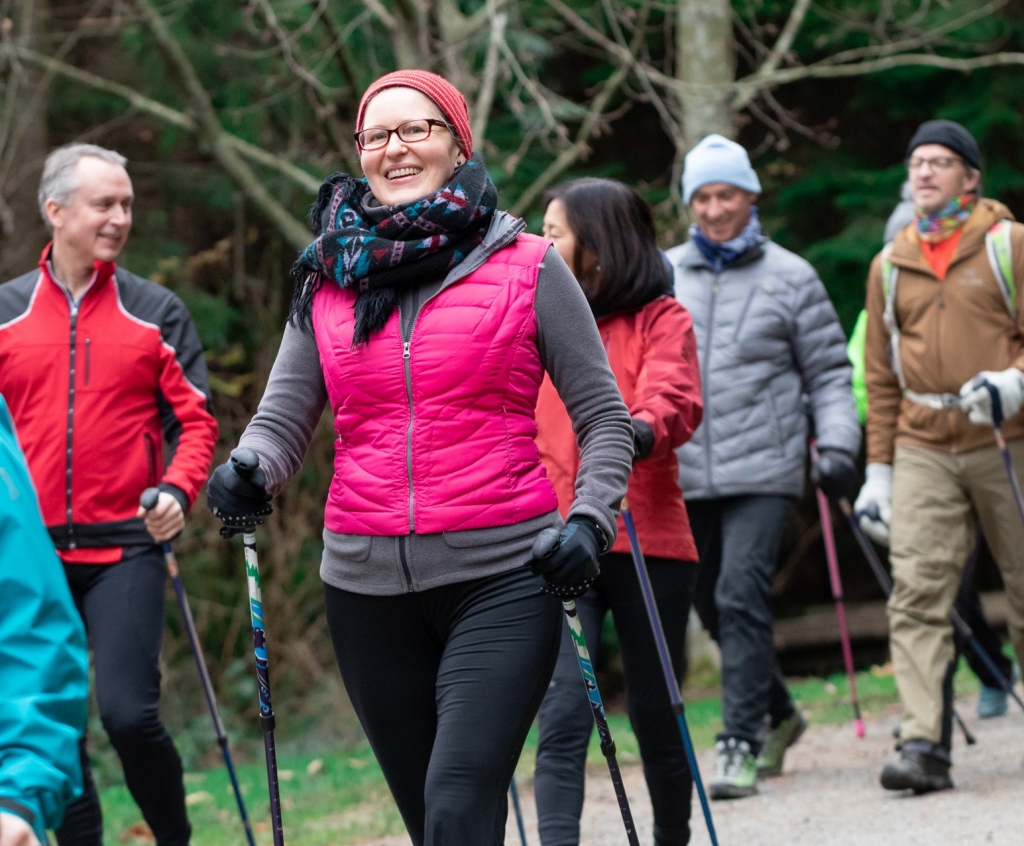
- 7. It’s a fun social workout - Invite your friends, your parents & your kids to enjoy all the health benefits with you.
- 8. It’s an amazing stress buster - The smooth rhythmic action provides a distraction from everyday concerns and lifts your mood.
- 9. You can adjust the intensity - Urban poling is an energizing activity that can be enjoyed by people of any age and athletic ability. Just press on the ergonomic handles with more or less intensity to modify your pace.
- 10. It’s a great running alternative - Hit the trails or your neighbourhood sidewalks on your own or with a gang of friends. Urban poling offers the same year-round fresh-air experience as running—but without jarring and jostling your joints.
How To Set Up Your Urban Poles
Series 300, 4Life and UrbanX.
How To Do The Urban Poling Technique
Series 300, 4Life, UrbanX and Spirit Poles
Adjusting Your Poles
When you first get your poles you will need to adjust them to your height. The poles have an internal twist locking system which can withstand up to 90 lbs (41 kg) of direct pressure per pole. Suggested maximum weight of user: 225 lbs (102 kg). There are markings on the bottom section of the poles ranging from 4′-2” to 6′-2″ (128 to 189 cm). If you are a novice or new to poling, you may find it easier to start off with poles that are set 2 inches (5 cm) below your height.
Step 1: Locate the words “lock/unlock” on the bottom section of your pole. Place your left hand on the top section of the pole and your right hand near the bottom of the pole. Turn only the bottom section to the “unlock” position. Do NOT touch the black plastic ferrule at the mid-section of poles – this is an anti-vibration feature.
Step 2: After adjusting the pole to your height, tighten it again by turning only the bottom section of the pole toward the “lock” position. Always make sure your poles are securely locked before use. Never pull the poles or lock them beyond the words “Max” or “Stop”.
Step 3: Make sure that the “toe” of the boot is facing behind you or in the opposite direction in which you are walking.
How To Set Up Your Spirit Poles
How to Add Snow Baskets to your Urban Poles
Urban Poling Technique
Before beginning, be sure to adjust the pole length to your correct height.
Step 1: Notice how you walk naturally
Take a few steps forward without your poles (or while holding your poles in the mid-section) and swing your arms as you would normally when walking. Notice that your arm naturally moves forward at the same time as the opposite leg.
Step 2: Drag your poles
Take hold of your poles, making sure that the CoreGrip with the letter “R” is in your right hand and the CoreGrip with the letter “L” is in your left hand. Grip the pole handles loosely, with your arms hanging completely relaxed by your side. With your arms at your side and dragging the poles behind you, simply begin to walk. Feel your arms naturally swing slightly in front and then behind your body with each stride.
Step 3: Swing your arm into the handshake position
As you continue walking and dragging your poles, start swinging your arms further forward until they are at the same level as if you were offering a high handshake. If you are finding this difficult, shorten the length of your poles. At this point, you should feel the tips of the poles catching the ground behind you with each step.
Step 4: Press down and push off
As you plant your poles, apply downward pressure on the ledge of the CoreGrip and feel your body being propelled forward by the poles. Finally, as your arm swings forward to the high handshake position, lift slightly so your poles can clear the ground.
Keep on Urban Poling All Year Round!
Enjoy your Urban Poles all year around with winter walking & snowshoeing! You can also purchase basket attachments for the Series 300, 4Life or Spirit Poles and ACTIVATOR Poles: snow baskets for winter walking and trekking baskets for hiking.
Part 1: The Basics
Quick Tips
Grip the handles lightly
The ergonomic CoreGrip (handles) are designed to be held lightly. Always strive to maintain a relaxed grip (with your fingers all the way around the handles) to reduce unnecessary tension in your hands. The workout comes from a downward push on the Ledge of the CoreGrip as you swing your arm back to engage your core muscles.
Adapt your poles to different terrains
Hidden beneath the rubber boot tip of each pole is a sharp carbide steel tip, which provides increased stability on wet and uneven terrain, such as grass, gravel, sand and snow. This is a great tool to help prevent falls in the winter time.
Replace your tips periodically
Your Urban Poling fitness poles come with a high-grade rubber tip for improved traction, increased speed and reduced vibration. Replace your boot tips when the treads wears out, or roughly every six months or annually depending on the frequency of use.
Using your poles in very cold temperatures
If using the poles in temperatures below zero, place the poles outside for 10-15 minutes so they can adjust to the temperature. Then lock them at the desired height.
Trick for unlocking the poles
The poles have an excellent locking system, but new poles may be tight to unlock the first few times. Try this: Flip the poles upside down and hold the handle tightly between your feet. Then, using two hands, turn the bottom section sharply in the direction of “unlock”.
Take care of your poles
Store your poles in a dry, moderate-temperature location. Never use lubricants of any kind. You can also purchase our unique & stylish carrying bag for travel and storage.
Precautions:
Consult your physician or therapist before using the poles if you currently use a cane or walker, have any medical condition which affects your balance, stability, grip strength, vision, depth perception, judgement or co-ordination or if you are currently recovering from an injury or surgery.
