1-877-499-7999
Urban Poles/Nordic Walking
Miejskie tyczki do fitnessu
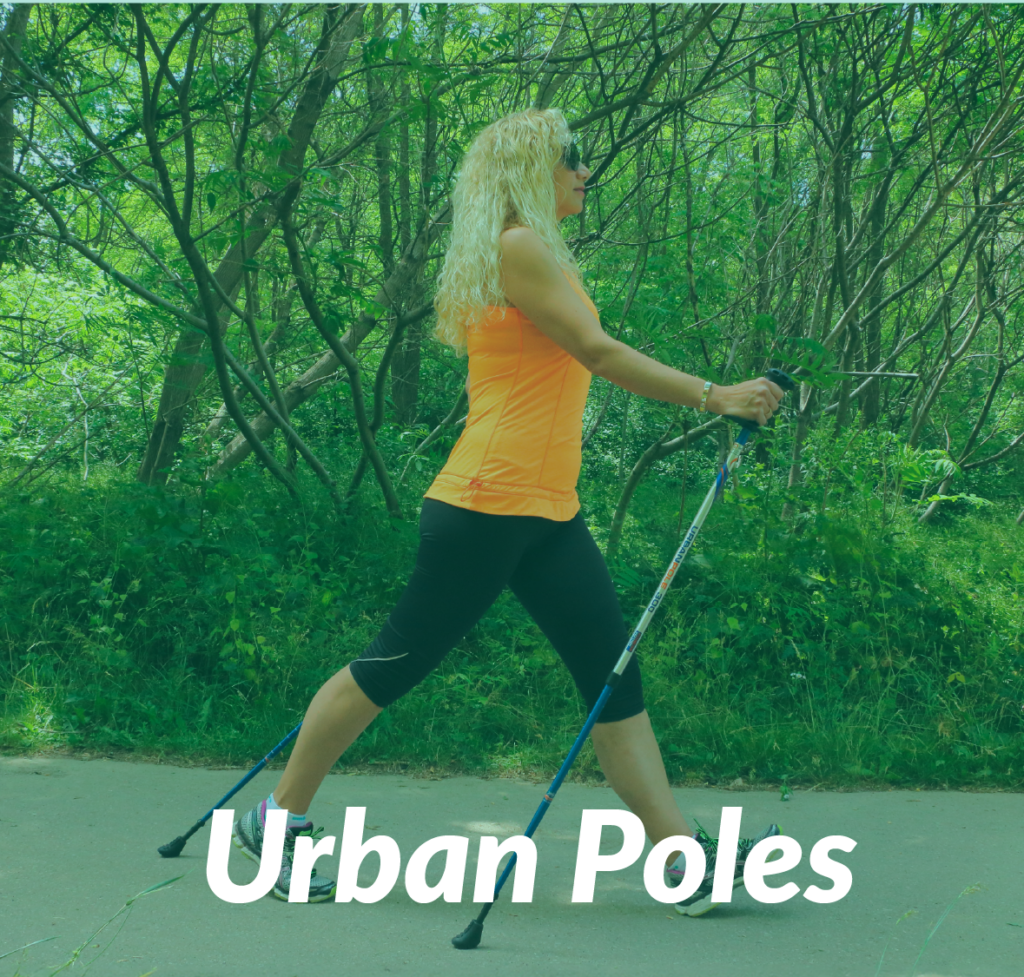
Looking for a more intense workout over regular walking?
The choice is easy: same quality, design and features, all you need to decide on is your colour preference and graphics. Spirit Poles have the distinguishing features of a twist and flip locking system, and snow baskets are included.
Our Urban poles for fitness burn more calories, tone your core while taking pressure off your lower joints. Versatile for indoor and outdoor use including hiking, winter walking & snowshoeing.
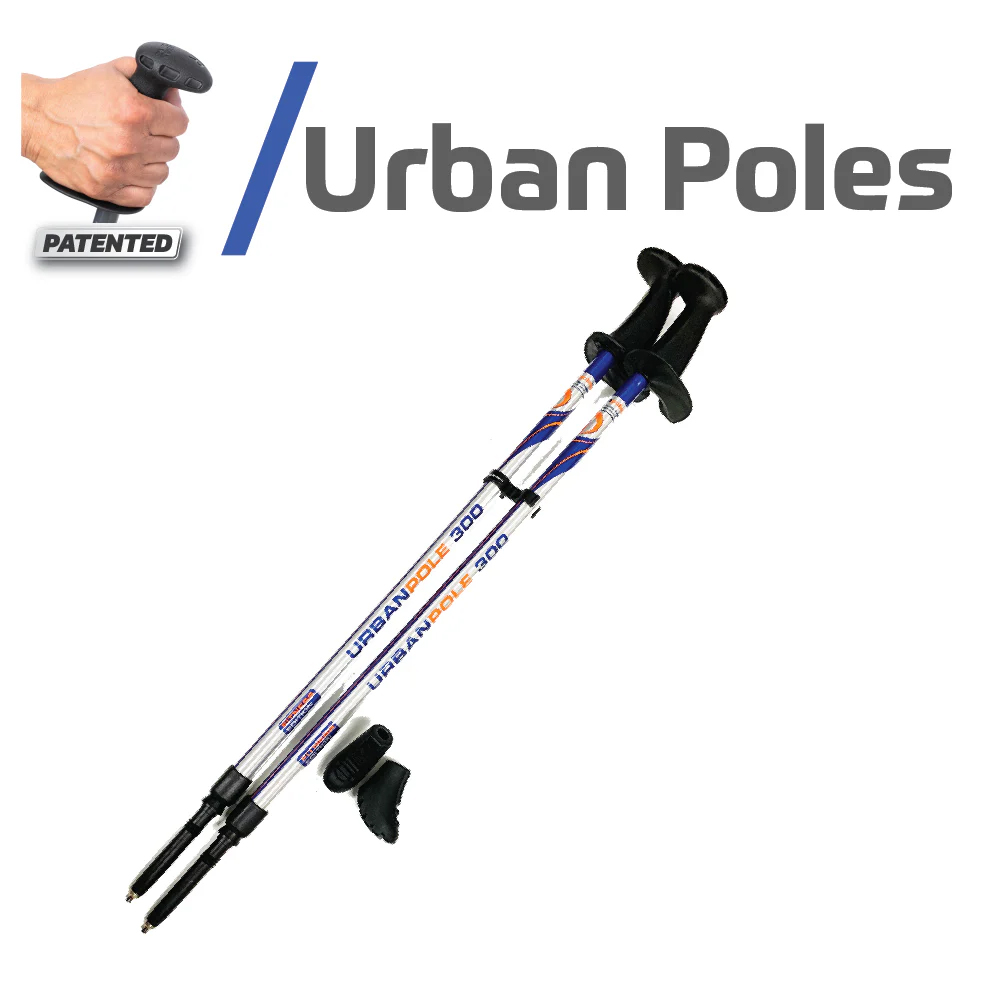
Urban Poles Series 300
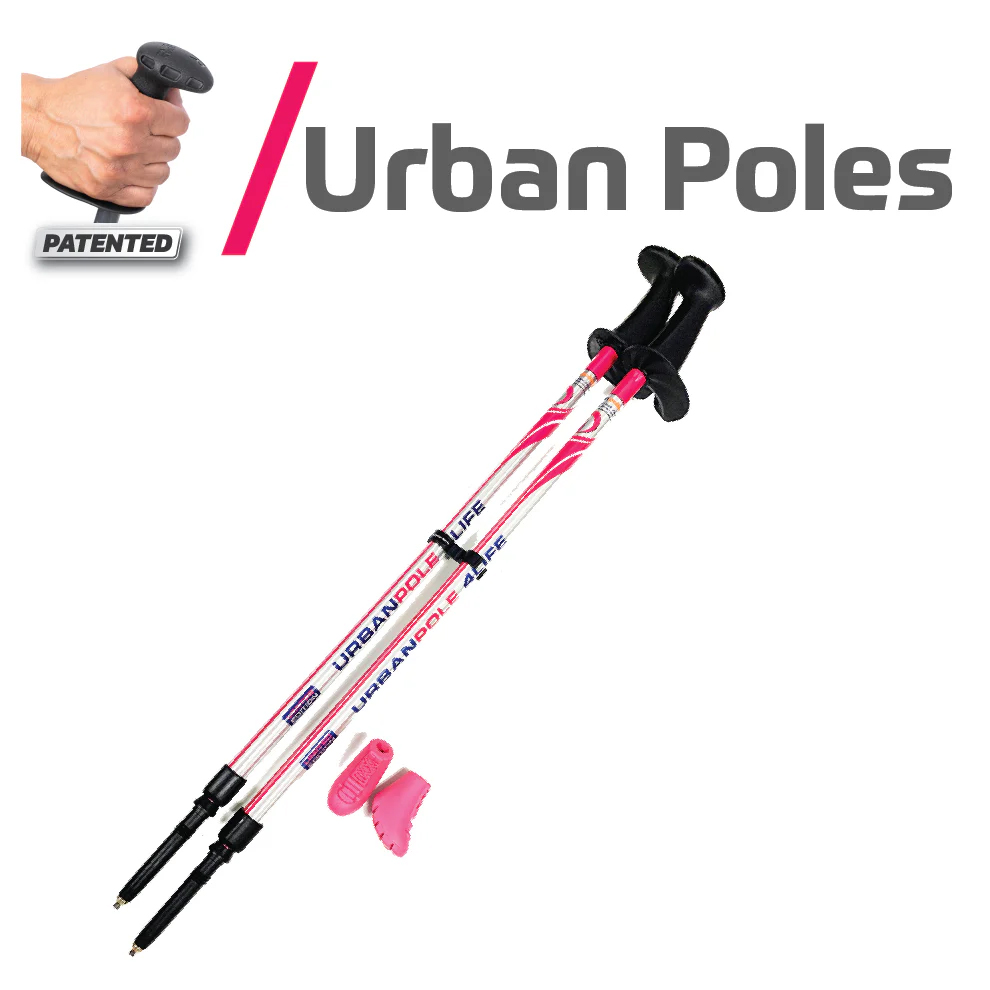
Urban Poles 4Life
Urban Poles Spirit
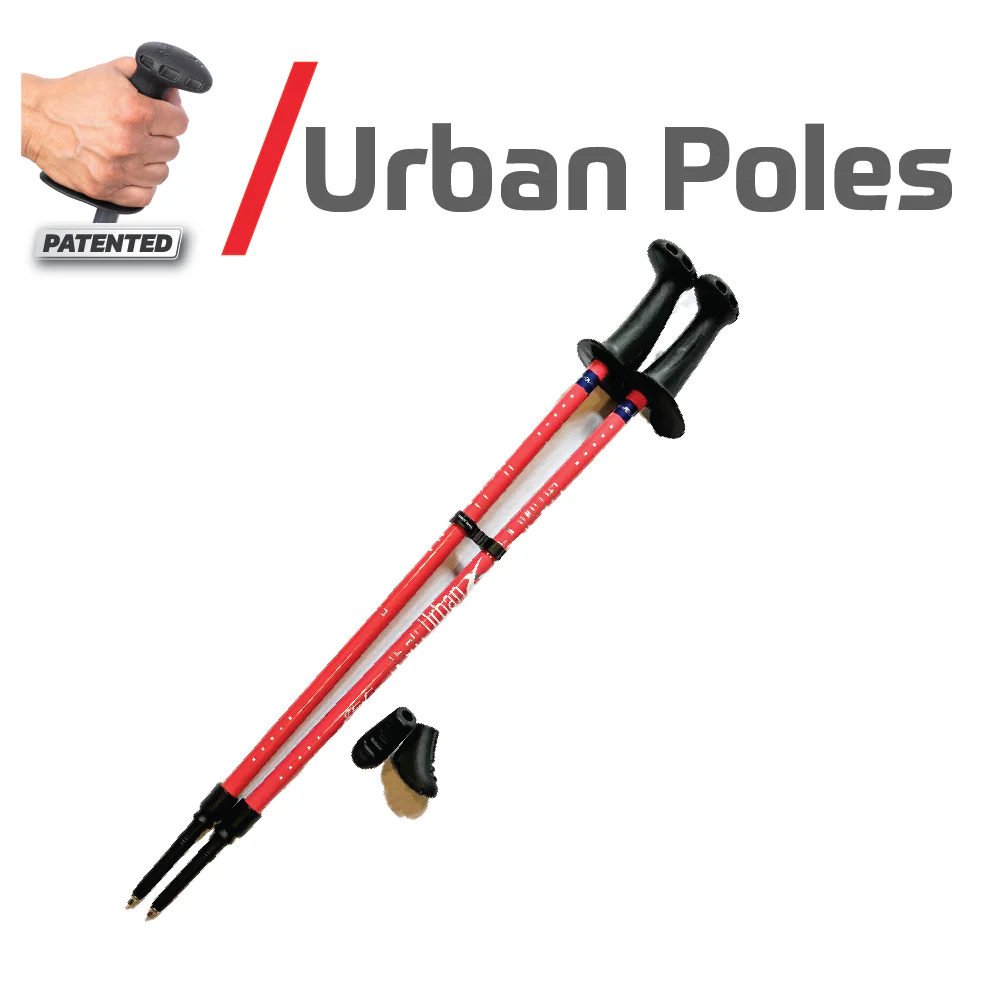
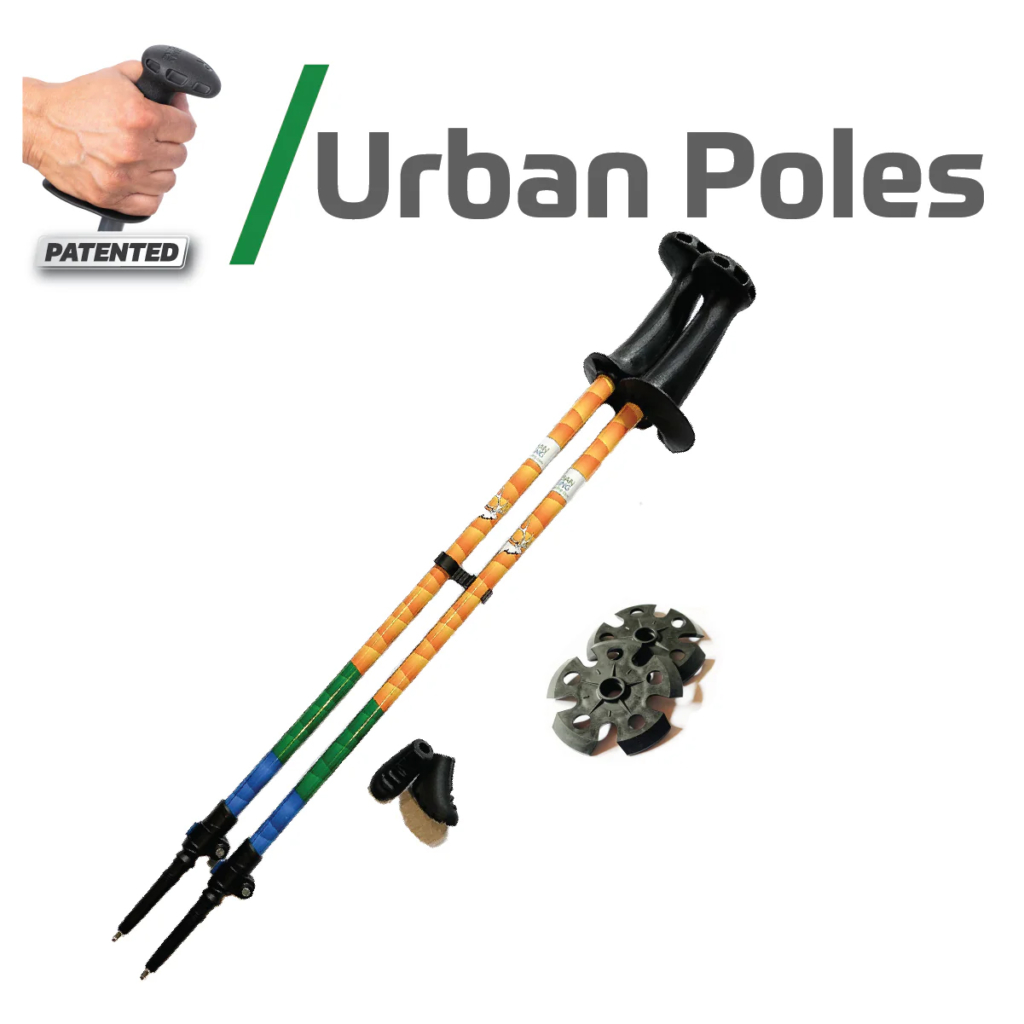
Urban Poles Urban X
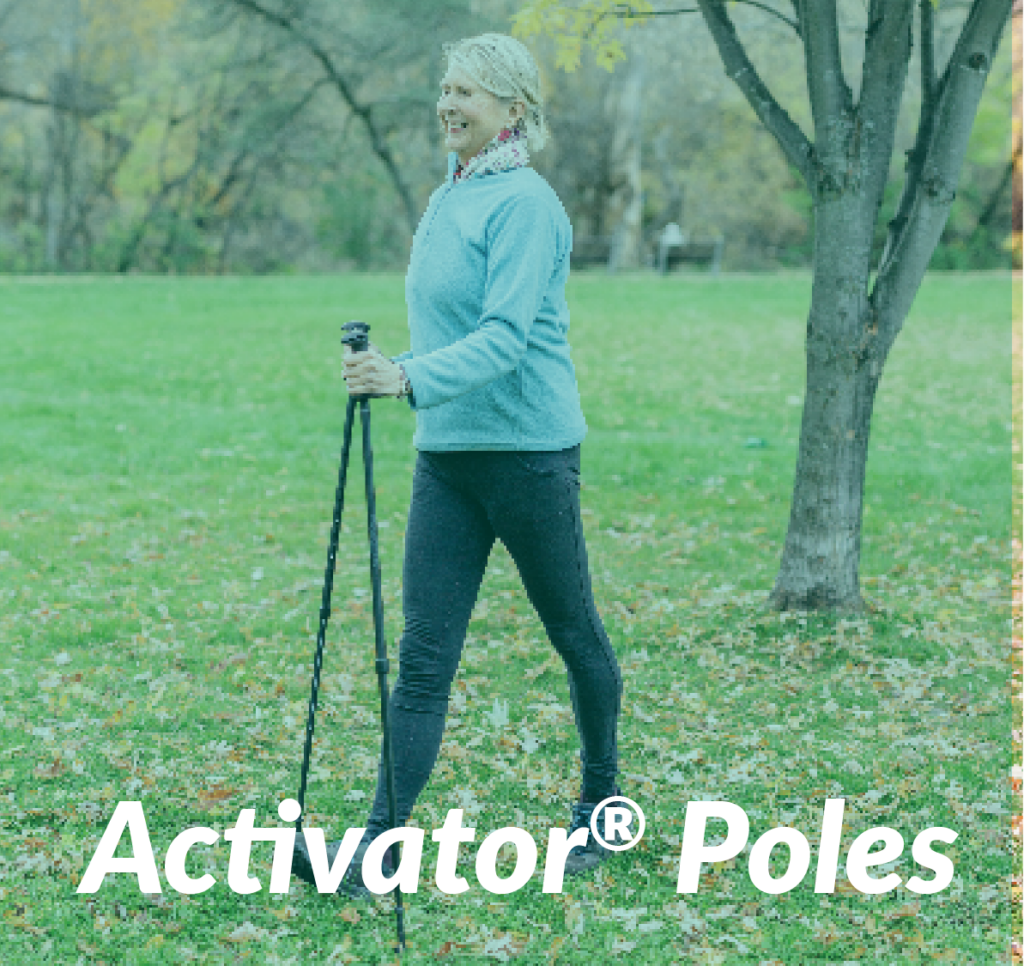
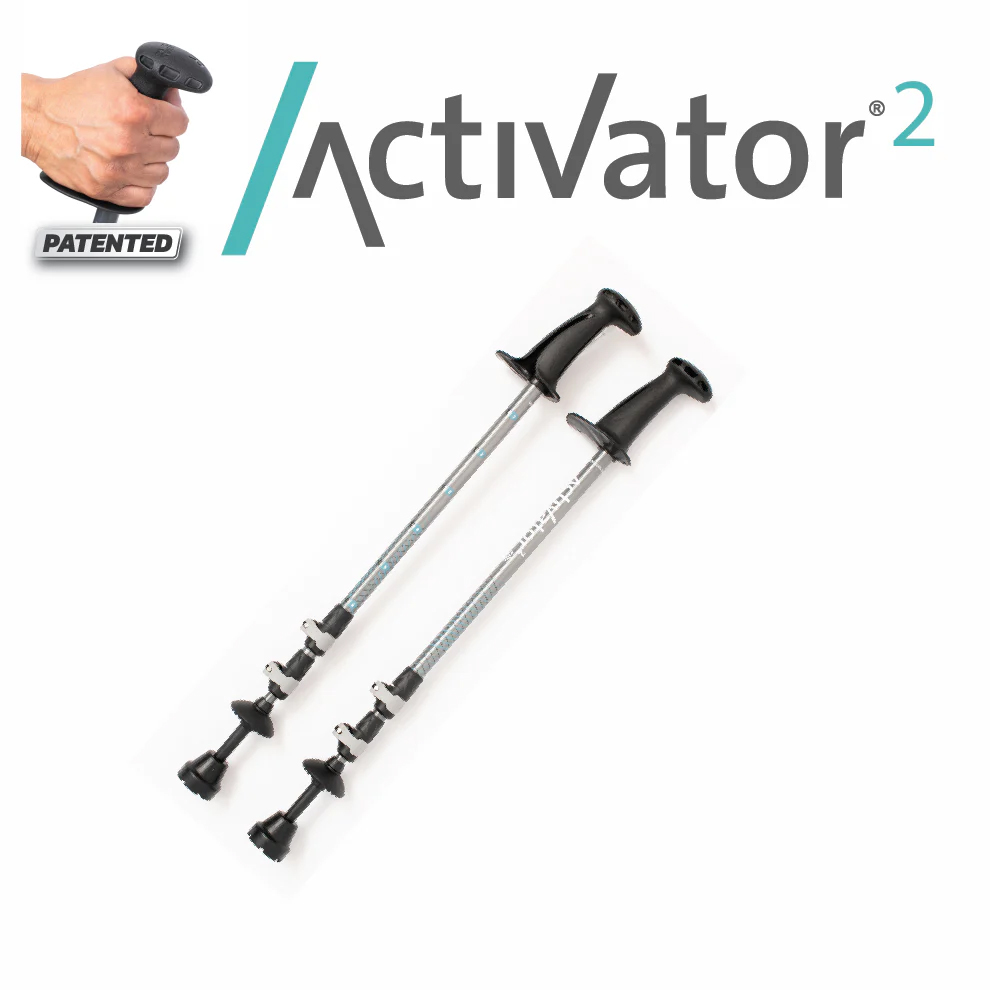
Activator® Poles - Balance and Rehab
ACTIVATOR® Poles for Balance, Hip & Knee Joints with Osteoarthritis and Rehab
The choice is easy: same quality, design and features, all you need to decide on is your colour preference. Just a note that the Moda poles include snow and hiking baskets while the Activator2s distinguishing features are that they can accommodate taller and/or heavier users and collapse to a shorter length.
Odpowiedni dla:
- Hip and knee osteoarthritis
- Pre and post hip & knee replacement surgery
- Post spinal stenosis surgery
- Conditions that affect your balance: Parkinson’s, MS, Stroke
- Rehabilitation programs
- Older Adults Programs – Minimizing the Risk for Falls
Ask your doctor or rehab professional if ACTIVATOR® Poles are for you!
Activator® Poles - regular two sectional
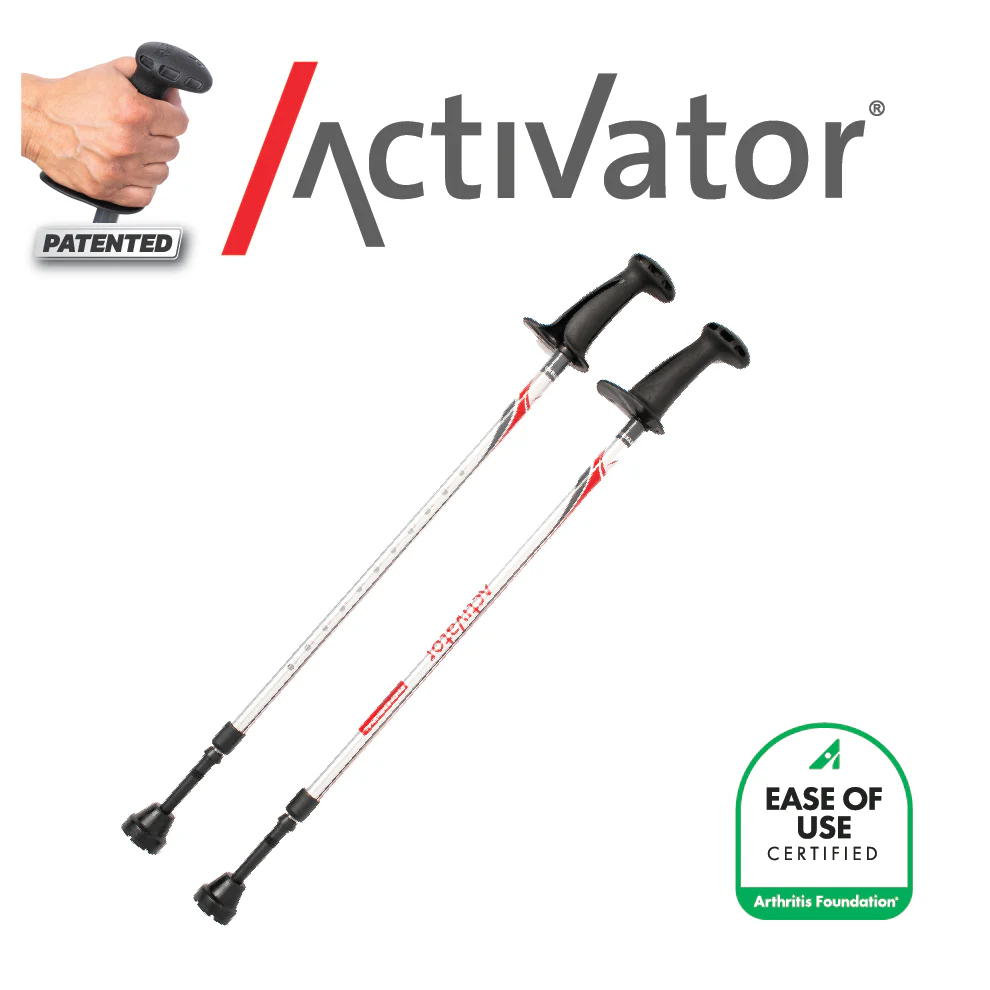
Activator Poles (Silver-Red)

Activator Evening Black
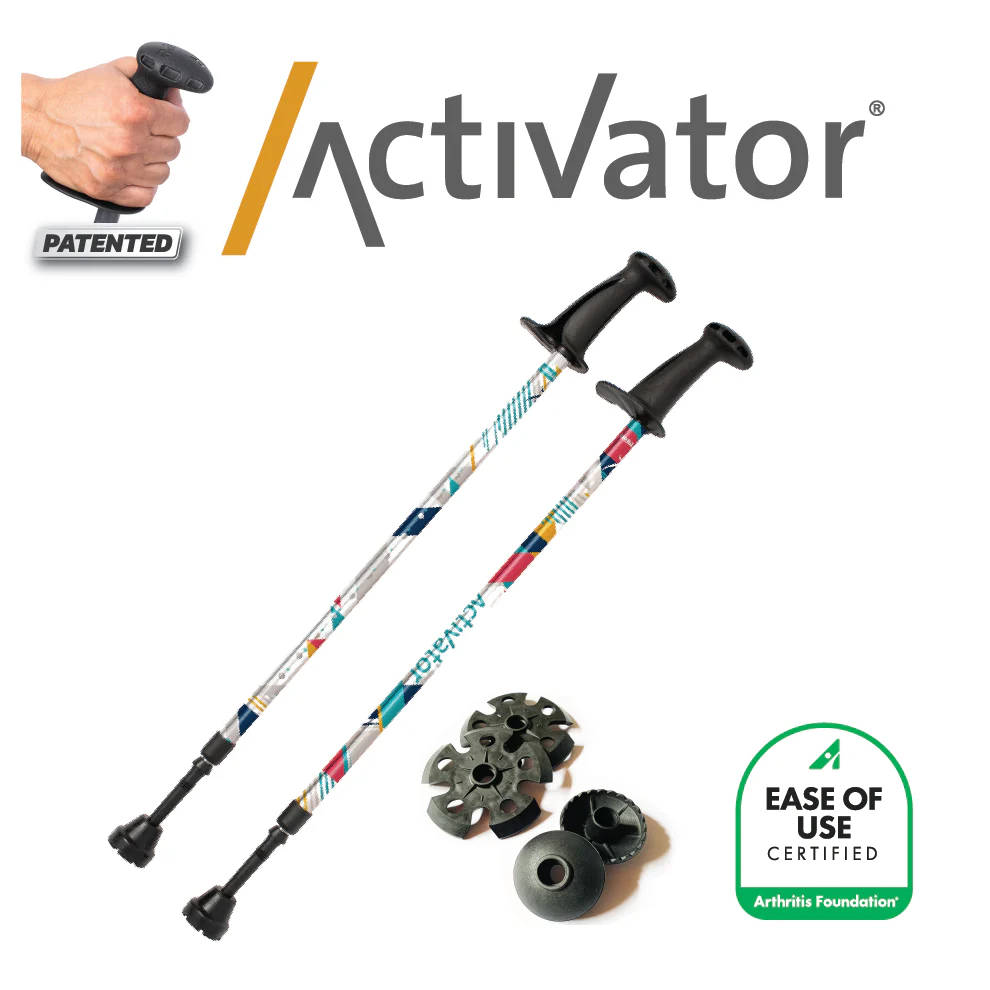
Activator Moda
Unique Components of the ACTIVATOR® Poles:
- Button-Locking System: An easier and safer method than twist locking systems. Up to 200 lbs (90 kg) of weight bearing capacity per pole. Maximum suggested user weight: 250 lbs (113 kg)
- New – Ergonomic CoreGrip (patented): Designed for improving core strengthening while providing greater comfort and supporting the wrist in a neutral position to reduce strain.
- Wide Ledge instead of a Strap: To reduce the risk of injuries. A study by Knobloch et al. (2006) found the highest rate of injury for Nordic walking is when the person is still attached to the poles during a fall.
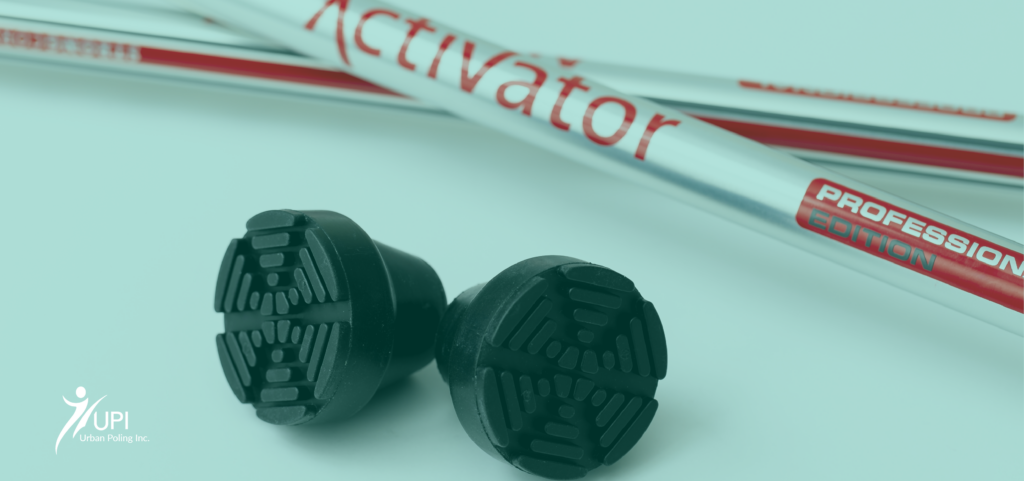
- Bell Shaped Tips: Provide greater stability than boot shaped tips
- 3 Anti-Vibration Features: The handle, ferrule and bell tips help reduce vibration and minimize impact on joints
- Carbide Steel Tip: Provides stability on soft or uneven surfaces such as sand, snow, grass, trails and gravel.
- Telescoping: For users from 4′2” to 6′ (127 to 182 cm). Collapse to 29 inches (73 cm) for storage & travel.
Activator® Poles 2 - special three sectional
Activator 2 Poles
have the same features as above with these differences:
- Button and flip-lock locking system: Up to 225 lbs (102 kg) of weight bearing capacity per pole. Maximum suggested user weight of 320 lbs (145 kg)
- Telescoping: For users from 4′2” to 6′4” (127 to 193 cm). Collapse to 25” (63 cm) for storage & travel
Activator 2 (3 sectional)
Instrukcje dotyczące Activator
Jak skonfigurować bieguny Activator®?
Jak wykonać technikę Activator
Activator Technique
- Step 1: Take hold of your poles
Make sure that the CoreGrip (handle) with the letter “R” is in your right hand and the pole CoreGrip with the letter “L” is in your left hand. Hold onto your poles with an easy grip, making sure your hands go all the way around the CoreGrip.
Stand tall and place your elbows at your sides at a 90-degree angle. Ensure the poles are always completely vertical. Keep your elbows bent the entire time you are walking. - Step 2: Begin walking
Step forward with the poles and walk in the same manner as regular walking: swing your right arm forward (with your elbow bent at 90 degrees) as your left foot steps forward. Keep the poles vertical and in front of your body at all times. Be sure that your upper arms swing forward and backward from the shoulders (not elbows) like pendulums. - Krok 3: Sprawdź swoją postawę i chwyt
Nie chwytaj uchwytów zbyt mocno. Zamiast tego, naciskaj na Ledge zewnętrzną krawędzią dłoni, aby zaangażować górną część ciała i mięśnie tułowia oraz zwiększyć stabilność i równowagę. Znaczące odciążenie kijków będzie miało miejsce tylko wtedy, gdy będziesz wywierał siłę na drążek.Important: This technique was developed in conjunction with the specific features of the ACTIVATOR poles. A study by Bechard (2015 unpublished) at UWO found significant off-loading for the knee joint when using the Activator technique.
Szybkie wskazówki
- Adapt your poles to different terrains & winter! Hidden beneath the rubber boot tip of each pole is a sharp carbide steel tip, which provides increased stability on wet and uneven terrain, such as grass, trails, gravel, sand and snow. This feature allows you to stay active all year round and is an excellent tool for helping to prevent falls in the winter time. You can also purchase snow baskets to keep the poles from sinking into the snow while winter walking or snowshoeing. To attach the baskets, take off the rubber tip and push the basket to the 3 grooves and then rotate the baskets until you achieve a tight fit.
- Using your ACTIVATOR Poles on your travels Collapse your ACTIVATOR Poles to their shortest length 29″ (79 cm) or 25″ (63 cm) for the ACTIVATOR2. They generally will fit in a medium size suitcase by placing them on a diagonal. Durable Urban Poling carrying bags are available to protect poles while in storage and in transit and makes it easy to take your poles with you. You can also use the carrying bag instead of a purse. Take the rubber tip off to expose the carbide tip for walking on trails, beaches and hikes.
- Replace your tips periodicallyYour ACTIVATOR poles come with a high-grade rubber tip for stability, off loading & reduced vibration. Replace your bell shaped tips when the treads wear out, or roughly once a year with regular use.
- Gradually Increase your time
Start by using your poles for only 1/3 of your maximum walking time and gradually increase your distance/time. - Take care of your poles
Store your poles in a dry, moderate-temperature location. You can also purchase a carrying bag for travel or storage.
Przed rozpoczęciem korzystania z tyczek ACTIVATOR należy dokładnie zapoznać się z instrukcją obsługi i wymienionymi w niej środkami ostrożności (instrukcja jest dołączona do tyczek).
Słupy ACTIVATOR
Did you know that there are 19 current/recent studies on the ACTIVATOR® Poles at hospitals and universities across Canada and at the renowned Royal National Orthopedic Hospital in the UK? Benefits may include improved core strength, posture, balance, improved confidence for walking; reduced impact on hips and knees and increased endurance! Health Care Professionals are recommending the ACTIVATOR® Poles for rehab and many conditions because they were designed by an Occupational Therapist & Gerontologist and have eight unique features for increasing safety, performance and stability. We hope you enjoy the ACTIVATOR Poles that have been built for walking and active living!
Unique Components of the ACTIVATOR® Poles:
- Button-Locking System: An easier and safer method vs turning locking systems. 200 lbs (90 kg) of weight bearing capacity per pole. Maximum suggested weight of user: 250 lbs (113 kg)
- New – Ergonomic CoreGrip (patented): Designed for improving core strengthening while providing greater comfort and supporting the wrist in a neutral position to reduce strain.
- Wide Ledge instead of a Strap: To reduce the risk of injuries. A study by Knobloch et al. (2006) found the highest rate of injury for Nordic walking is when the person is still attached to the poles during a fall.
- Bell Shaped Tips: Provide greater stability than boot shaped tip
- 3 Anti-Vibration Features: Reduce vibration and impact on joints
- Carbide Steel Tip: Provides stability on slippery conditions and on trails & beaches.
Telescoping: 4′ to 6′ (121 to 182 cm). Poles are collapsible for storage & travel - New – ACTIVATOR2 Poles designed for taller individuals up to 6′ 4″ (195 cm) and collapses shorter for travel 25″ (63 cm). Maximum user weight: 325 lbs (147 kg).
Regulacja tyczek ACTIVATOR
- Kiedy po raz pierwszy otrzymasz kijki, będziesz musiał dostosować je do swojego wzrostu.
- Step 1: Stand tall with your poles upright and relax your arms so that your elbows rest at a 90-degree angle. This is the correct pole length for your height.
- Step 2: Notice the perforated holes on the top portion of the pole. Pull the bottom portion of the pole downward and turn it until the silver stripe lines up with the holes. Continue to pull down on the lower part of the pole until the button pops into the correct hole for your height. You may need to adjust the pole slightly up or down before the button locks securely into place.
Regulacja biegunów ACTIVATOR® 2
- Extend poles: Open both flip-locks tabs (grey). Pull below flip-lock to extend the middle and lower sections. Lower section may be stiff to pull initially.
- Set pole length: Adjust the pole length so that you can stand with your elbow bent at slightly less than a 90 degree angle with your hand resting on the ledge of the CoreGrip and the bell tip resting on the ground.
- Secure button lock A-B: Looking at holes A and B in the middle section, turn the lower section of the pole until you see the white stripe in the holes marked A and B. Pull on the lower section of the pole until the button locks into hole A or B.
- Secure button lock 1-6: Repeat above securing the button lock in one of the holes marked 1-6 (depending on appropriate level for your height) in the upper section. Confirm pole length and close flip-lock tabs. Collapsing: open the flip-lock tab, push the button lock and at the same time push in the section Close flip-lock tab.
Jak wyregulować urządzenie Activator® 2
Środki ostrożności:
Przed użyciem kijków należy skonsultować się z pracownikiem służby zdrowia (lekarzem, terapeutą lub inną osobą), jeśli użytkownik korzysta obecnie z laski, kul lub chodzika; w celu treningu; lub w przypadku jakiegokolwiek stanu chorobowego, który wpływa na równowagę, stabilność, zdolność chwytania uchwytów, widzenie, postrzeganie głębi lub koordynację; lub jeśli użytkownik przechodzi obecnie rekonwalescencję po urazie lub operacji.
- DO NOT use the ACTIVATOR Poles on stairs unless trained by a therapist or other health care professional.
- ACTIVATOR Poles should not be used on ice.
Always use both poles (except for people with strokes), unless advised otherwise by your healthcare professional. - ACTIVATOR Poles may help to prevent or break a fall, but falling on them may affect pole integrity. Do not use poles that have been fallen on or that have been damaged in any other way.
- Replace your poles approximately every 2 years if you are over 200 lbs (90 kg) or a heavier user. Use exceeds more than 5-10 km per week.
- Ask your therapist how to use the poles for transferring out of the car and use both poles.
Wprowadzenie do Urban Poling
Ciekawi Cię trening z kijkami? Miejski poling (znany również jako nordic walking) - pomyśl o narciarstwie biegowym bez nart - ma właściwości tonizujące, spalające kalorie i poprawiające postawę, dzięki czemu jest popularny w Europie od dziesięcioleci i stał się nowym ulubionym treningiem w Kanadzie. Wystarczy chwycić kijki i ruszyć w drogę - nie ma potrzeby noszenia drogich spandeksowych strojów ani wykupowania karnetu na siłownię!
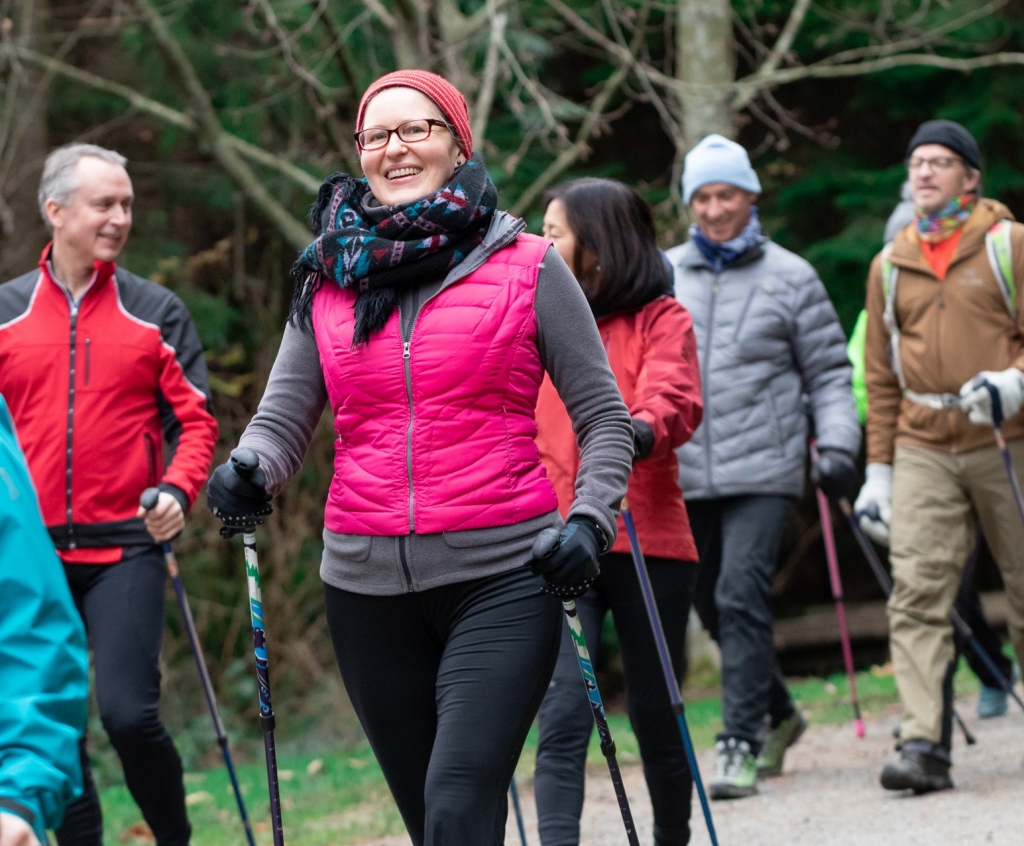
Oto 10 powodów, dla których warto wypróbować urban poling.
- 1. Zmniejsza talię - mięśnie brzucha napinają się za każdym razem, gdy odpychasz się kijkami. To odpowiednik 1000 skurczów brzucha na kilometr lub 1800 na milę!
- 2. Twoje kolana i biodra będą Ci wdzięczne - kijki pozwalają na przeniesienie ciężaru z bioder i kolan na górną część ciała. Możesz iść dalej, szybciej, a nawet bez bólu.
- 3. Przyspiesza spalanie kalorii - Badania potwierdzają to wielokrotnie: bieganie po mieście spala od 20 do 46% więcej kalorii niż standardowy spacer. Wow!
- 4. Rzeźbi ramiona i barki - Urban Poling wykorzystuje 75% mięśni - szczególnie tych słabo wykorzystywanych mięśni górnej części ciała. Witaj krótkie rękawy!
- 5. Pomaga zrównoważyć poziom cukru we krwi - miejski trening biegowy całego ciała pomaga utrzymać poziom cukru we krwi w zdrowym zakresie.
- 6. Wyprostujesz się i poczujesz się pewniej - mięśnie górnej części pleców (te, które odciągają ramiona do tyłu) napinają się za każdym razem, gdy kładziesz kijki i naciskasz na ergonomiczne uchwyty.
- 7. To zabawny trening towarzyski - zaproś znajomych, rodziców i dzieci, aby razem z Tobą cieszyli się wszystkimi korzyściami zdrowotnymi.
- 8. Niesamowity pogromca stresu - płynna, rytmiczna akcja zapewnia odwrócenie uwagi od codziennych zmartwień i poprawia nastrój.
- 9. Możesz regulować intensywność - Urban poling to energetyzująca aktywność, z której mogą korzystać osoby w każdym wieku i o różnych umiejętnościach sportowych. Wystarczy nacisnąć ergonomiczne uchwyty z większą lub mniejszą intensywnością, aby zmodyfikować tempo.
- 10. Świetna alternatywa dla biegania - przemierzaj szlaki lub okoliczne chodniki samodzielnie lub z grupą przyjaciół. Urban poling oferuje takie same całoroczne doznania na świeżym powietrzu jak bieganie - ale bez wstrząsów i szarpania stawów.
Jak skonfigurować słupki miejskie
Series 300, 4Life i UrbanX.
Jak wykonać technikę Urban Poling?
Słupy z serii 300, 4Life, UrbanX i Spirit
Regulacja biegunów
Po otrzymaniu kijków po raz pierwszy konieczne będzie dostosowanie ich do wzrostu użytkownika. Kije posiadają wewnętrzny system blokowania, który może wytrzymać bezpośredni nacisk do 41 kg (90 funtów) na kij. Sugerowana maksymalna waga użytkownika: 225 funtów (102 kg). Na dolnej części kijków znajdują się oznaczenia w zakresie od 4′-2" do 6′-2″ (128-189 cm). Jeśli jesteś nowicjuszem lub dopiero zaczynasz przygodę z kijkami, możesz łatwiej zacząć od kijków, które są ustawione 2 cale (5 cm) poniżej twojego wzrostu.
Krok 1: Znajdź napis "zablokuj/odblokuj" na dolnej części drążka. Połóż lewą rękę na górnej części drążka, a prawą na jego dolnej części. Obróć tylko dolną część do pozycji "odblokowania". NIE dotykaj czarnego plastikowego okucia w środkowej części kijka - jest to element antywibracyjny.
Krok 2: Po dostosowaniu kijka do wzrostu, dokręć go ponownie, obracając tylko dolną część kijka w kierunku pozycji "blokady". Przed użyciem należy zawsze upewnić się, że kijki są prawidłowo zablokowane. Nigdy nie ciągnij za kijki ani nie blokuj ich poza napisem "Max" lub "Stop".
Krok 3: Upewnij się, że "czubek" buta jest skierowany do tyłu lub w przeciwnym kierunku, w którym idziesz.
Jak skonfigurować tyczki Spirit
Jak dodać kosze na śnieg do tyczek miejskich?
Technika Urban Poling
Przed rozpoczęciem upewnij się, że długość drążka jest dostosowana do Twojego wzrostu.
Krok 1: Zauważ, jak chodzisz naturalnie
Zrób kilka kroków do przodu bez kijków (lub trzymając kijki w środkowej części ciała) i wymachuj ramionami, tak jak podczas normalnego chodzenia. Zauważ, że ramię naturalnie porusza się do przodu w tym samym czasie, co przeciwna noga.
Krok 2: Przeciągnij bieguny
Chwyć kijki, upewniając się, że uchwyt CoreGrip z literą "R" znajduje się w prawej ręce, a uchwyt CoreGrip z literą "L" w lewej ręce. Chwyć uchwyty kijków luźno, z ramionami całkowicie rozluźnionymi po bokach. Z rękami przy boku i ciągnąc kijki za sobą, po prostu zacznij chodzić. Poczuj, jak ramiona naturalnie kołyszą się lekko przed, a następnie za ciałem przy każdym kroku.
Krok 3: Przesuń rękę do pozycji uścisku dłoni.
Kontynuując chodzenie i ciągnięcie kijków, zacznij wychylać ramiona do przodu, aż znajdą się na tym samym poziomie, co w przypadku wysokiego uścisku dłoni. Jeśli sprawia ci to trudność, skróć długość kijków. W tym momencie powinieneś czuć, jak czubki kijków łapią ziemię za tobą przy każdym kroku.
Krok 4: Wciśnij i odepchnij
Podczas kładzenia kijków na podłożu, wywieraj nacisk w dół na półkę CoreGrip i poczuj, jak twoje ciało jest wypychane do przodu przez kijki. Na koniec, gdy ramię wychyli się do przodu do pozycji wysokiego uścisku dłoni, unieś je lekko, aby kijki mogły oderwać się od podłoża.
Kontynuuj Urban Poling przez cały rok!
Ciesz się swoimi kijkami Urban przez cały rok podczas zimowych spacerów i wędrówek w rakietach śnieżnych! Do kijków z serii 300, 4Life i Spirit oraz kijków ACTIVATOR można również dokupić koszyki: koszyki śnieżne do zimowych spacerów i koszyki trekkingowe do pieszych wędrówek.
Część 1: Podstawy
Szybkie wskazówki
Lekko chwyć uchwyty
Ergonomiczne uchwyty CoreGrip zostały zaprojektowane z myślą o lekkim trzymaniu. Zawsze staraj się zachować zrelaksowany chwyt (palcami dookoła uchwytów), aby zmniejszyć niepotrzebne napięcie w dłoniach. Trening polega na wypychaniu w dół krawędzi CoreGrip podczas odchylania ramienia do tyłu, aby zaangażować mięśnie tułowia.
Dostosuj kijki do różnych warunków terenowych
Pod gumową końcówką każdego kijka znajduje się ostra stalowa końcówka z węglików spiekanych, która zapewnia większą stabilność na mokrym i nierównym terenie, takim jak trawa, żwir, piasek i śnieg. Jest to doskonałe narzędzie zapobiegające upadkom w okresie zimowym.
Okresowo wymieniaj końcówki
Kije fitness Urban Poling są wyposażone w wysokiej jakości gumowe końcówki zapewniające lepszą przyczepność, większą prędkość i mniejsze wibracje. Końcówki butów należy wymieniać po zużyciu bieżnika, czyli mniej więcej co sześć miesięcy lub co rok, w zależności od częstotliwości użytkowania.
Używanie kijków w bardzo niskich temperaturach
W przypadku korzystania z kijków w temperaturach poniżej zera należy umieścić je na zewnątrz na 10-15 minut, aby mogły dostosować się do temperatury. Następnie zablokuj je na żądanej wysokości.
Sztuczka umożliwiająca odblokowanie biegunów
Kije mają doskonały system blokowania, ale nowe kije mogą być trudne do odblokowania za pierwszym razem. Spróbuj tego: Odwróć kijki do góry nogami i przytrzymaj uchwyt mocno między stopami. Następnie, używając dwóch rąk, gwałtownie obróć dolną część w kierunku "odblokowania".
Dbaj o swoje kijki
Kijki należy przechowywać w suchym miejscu o umiarkowanej temperaturze. Nigdy nie używaj żadnych smarów. Możesz również kupić naszą wyjątkową i stylową torbę do przenoszenia i przechowywania.
Środki ostrożności:
Skonsultuj się z lekarzem lub terapeutą przed użyciem kijków, jeśli obecnie używasz laski lub chodzika, masz jakiekolwiek schorzenia, które wpływają na równowagę, stabilność, siłę chwytu, wzrok, postrzeganie głębi, ocenę sytuacji lub koordynację lub jeśli obecnie przechodzisz rekonwalescencję po urazie lub operacji.