Looking for a more intense workout over regular walking?
The choice is easy: same quality, design and features, all you need to decide on is your colour preference and graphics. Spirit Poles have the distinguishing features of a twist and flip locking system, and snow baskets are included.
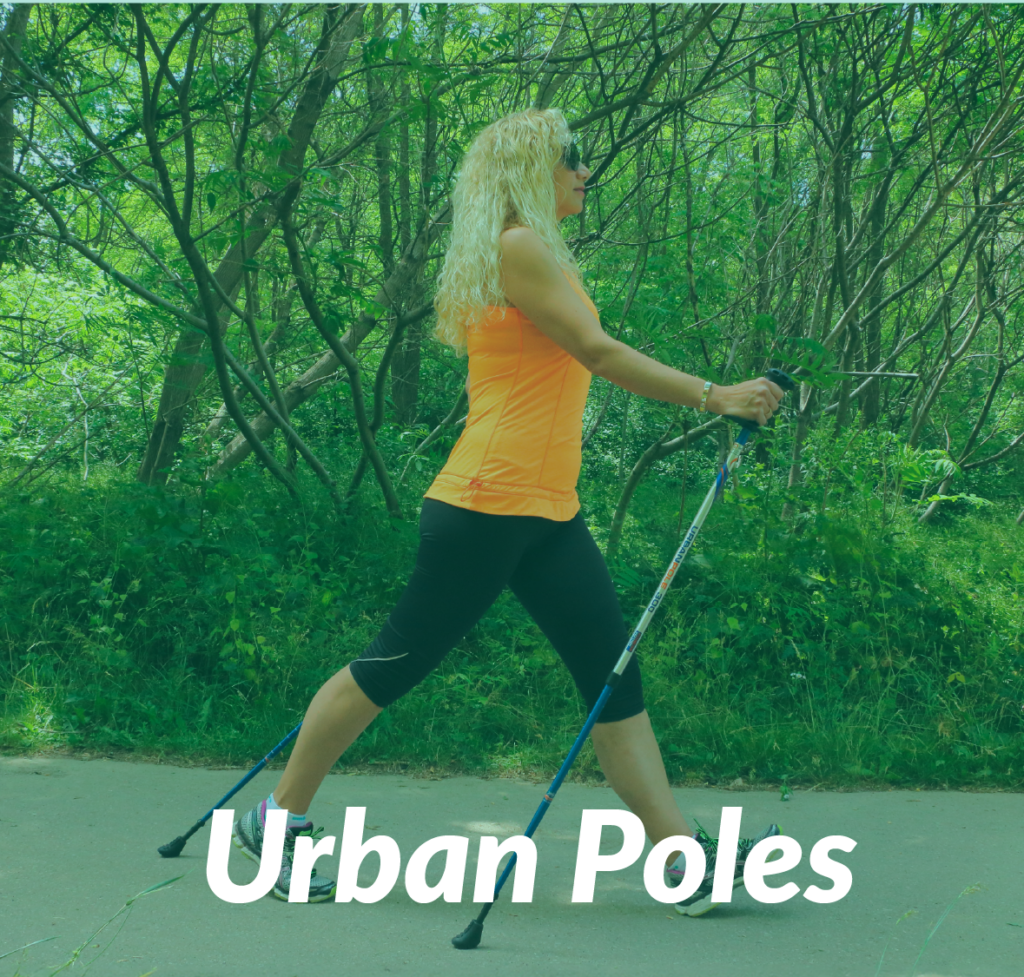
Our Urban poles for fitness burn more calories, tone your core while taking pressure off your lower joints. Versatile for indoor and outdoor use including hiking, winter walking & snowshoeing.
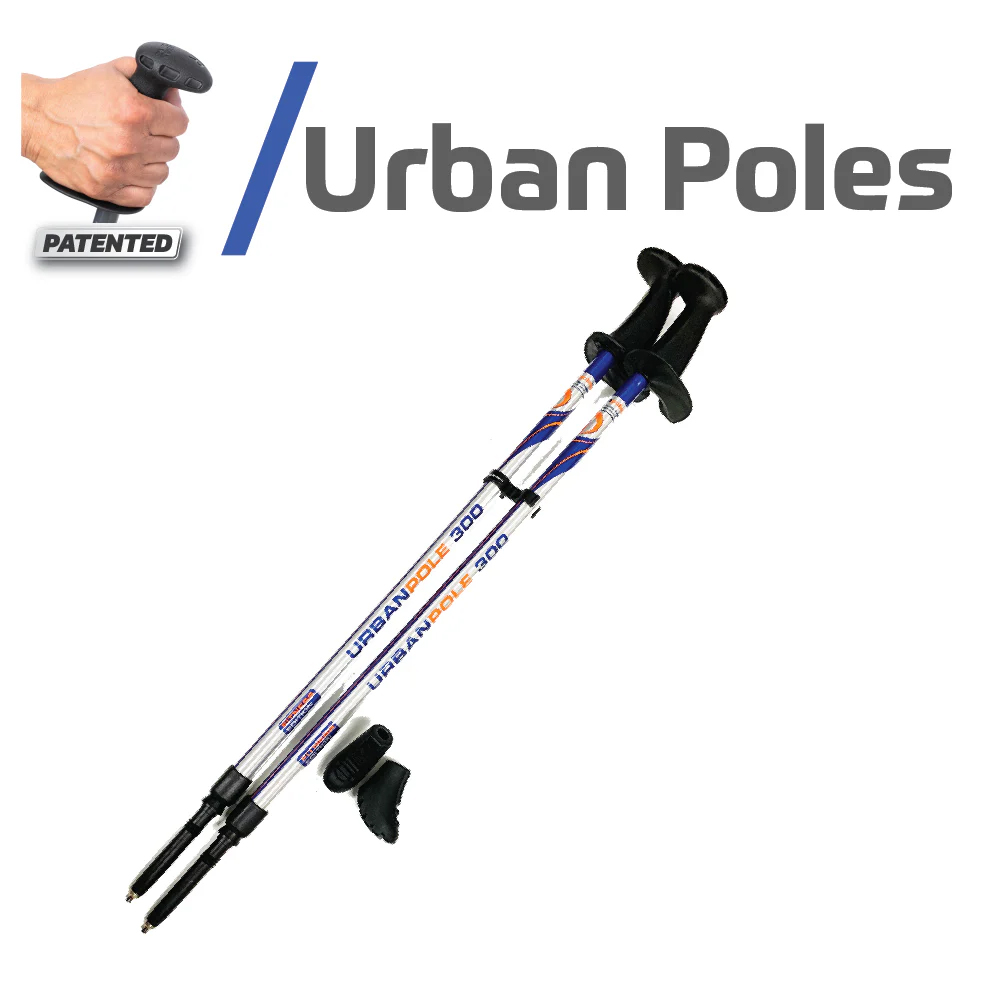
Urban Poles Series 300
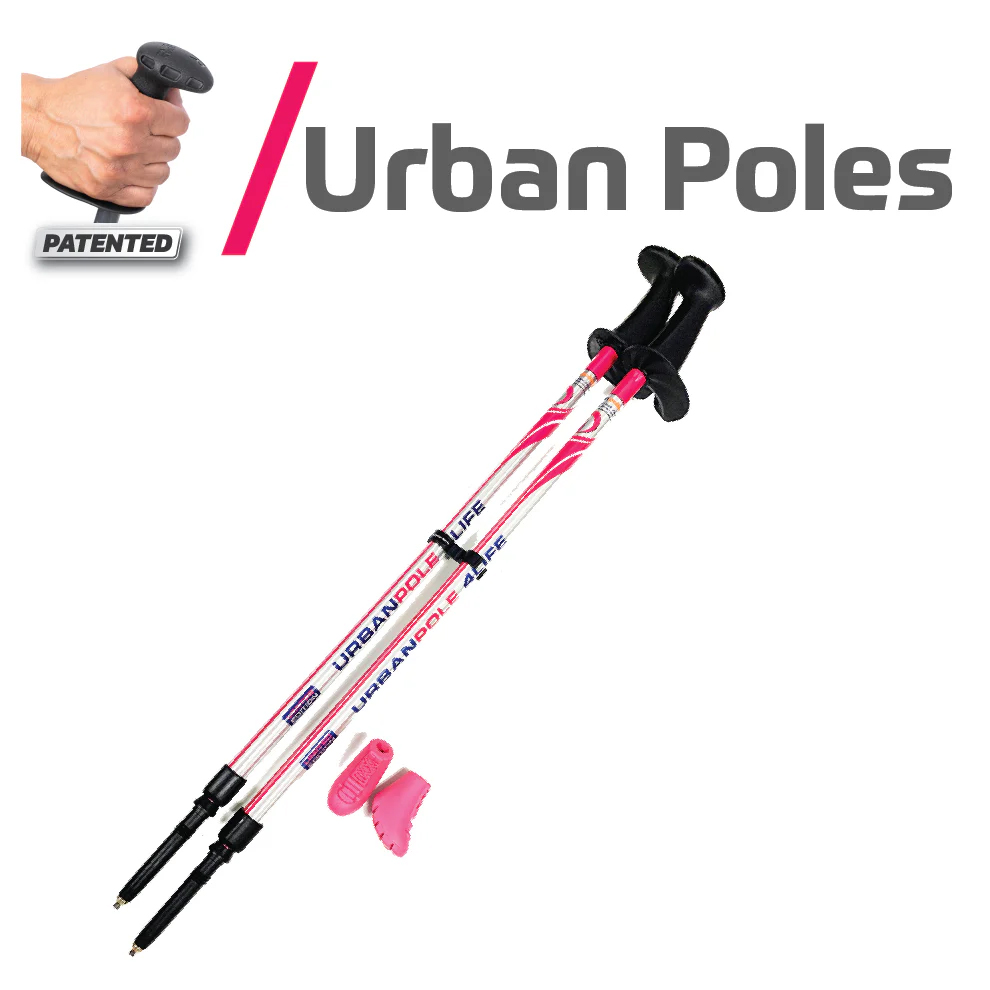
Urban Poles 4Life
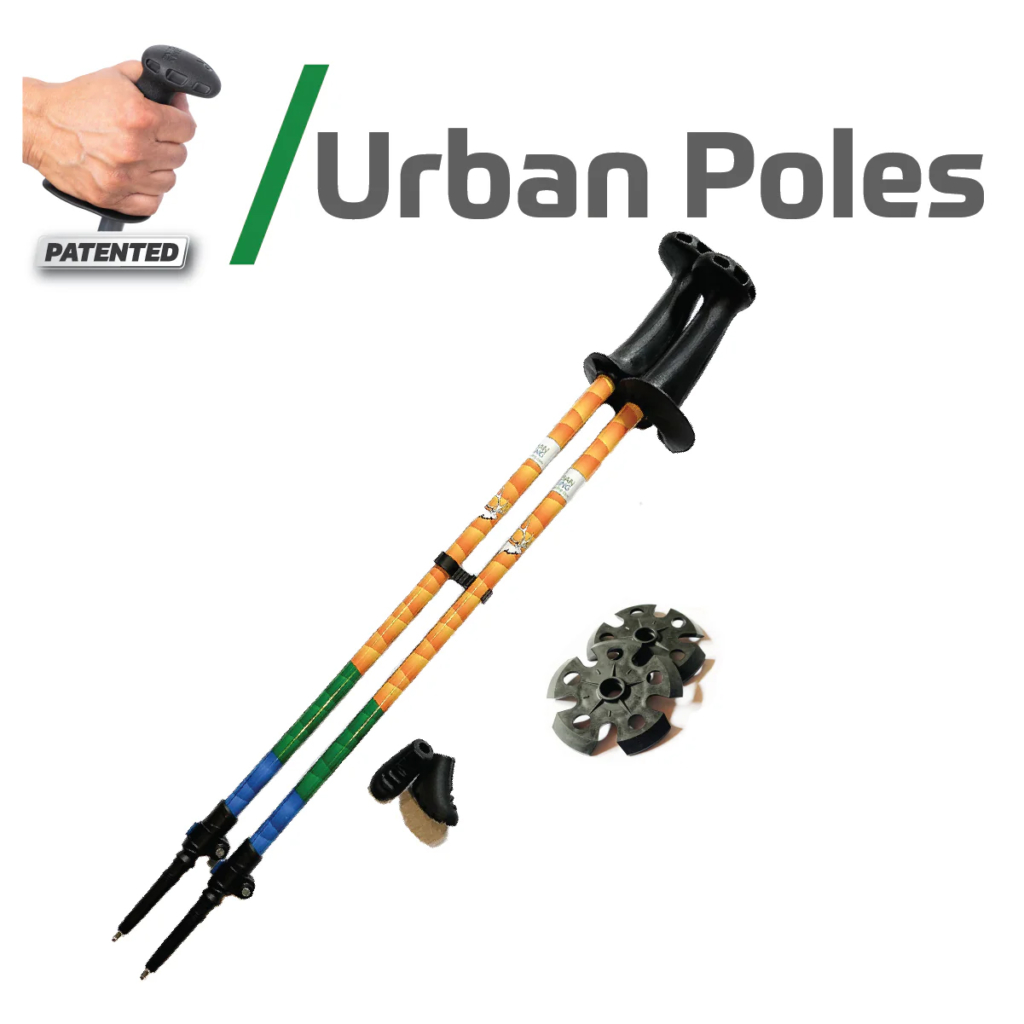
Urban Poles Spirit
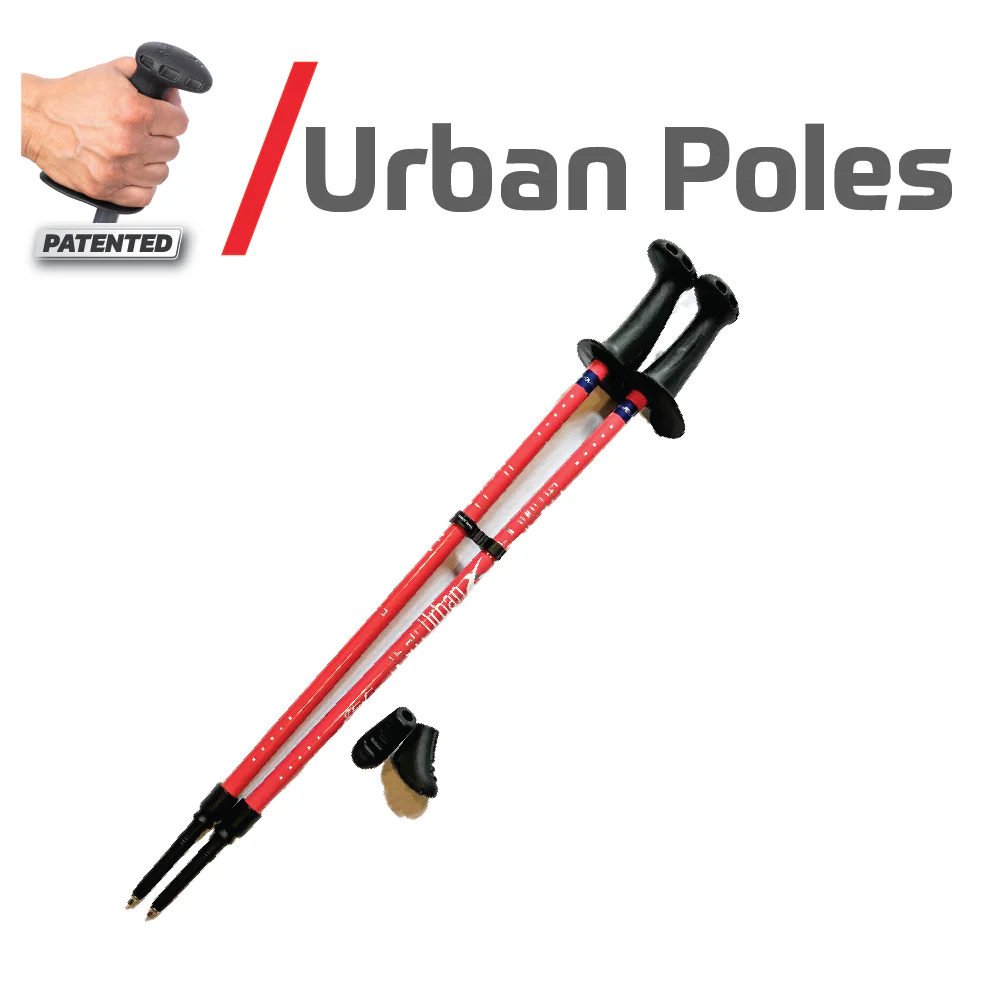
Urban Poles Urban X
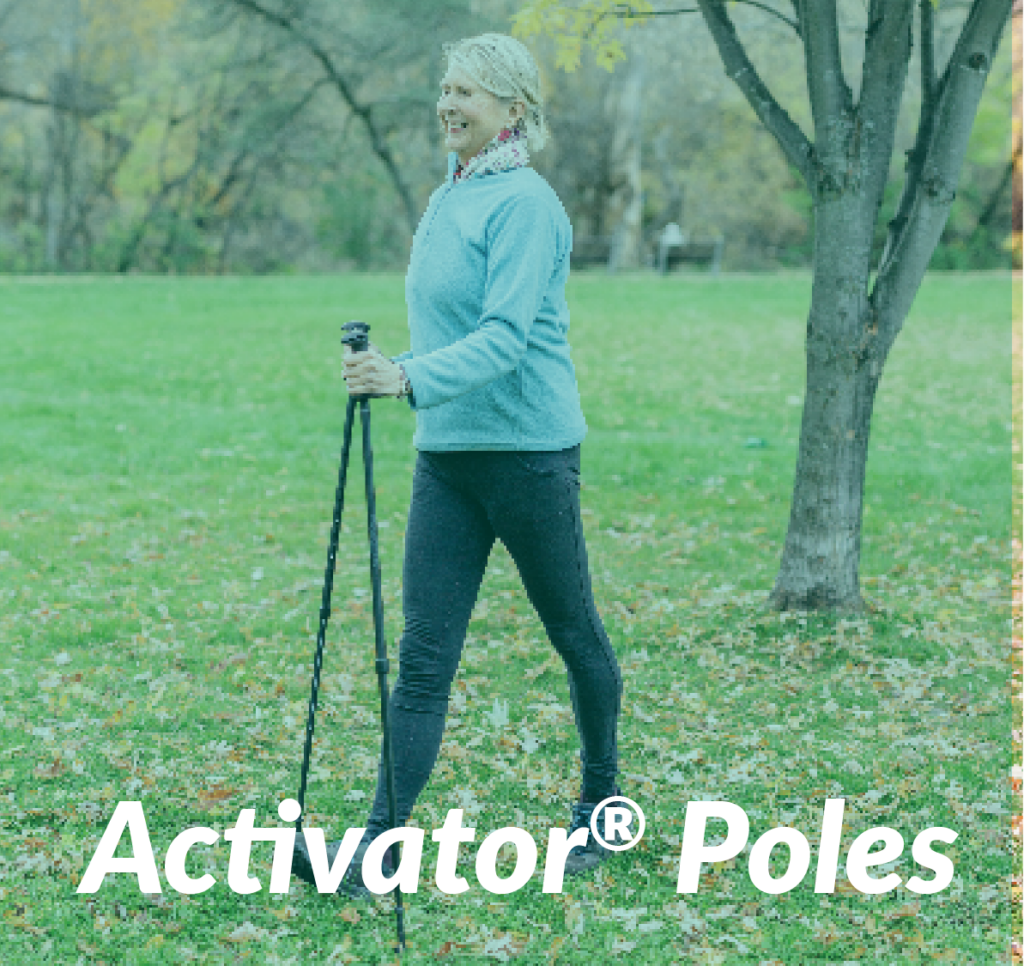
The choice is easy: same quality, design and features, all you need to decide on is your colour preference. Just a note that the Moda poles include snow and hiking baskets while the Activator2s distinguishing features are that they can accommodate taller and/or heavier users and collapse to a shorter length.
Suitable for:
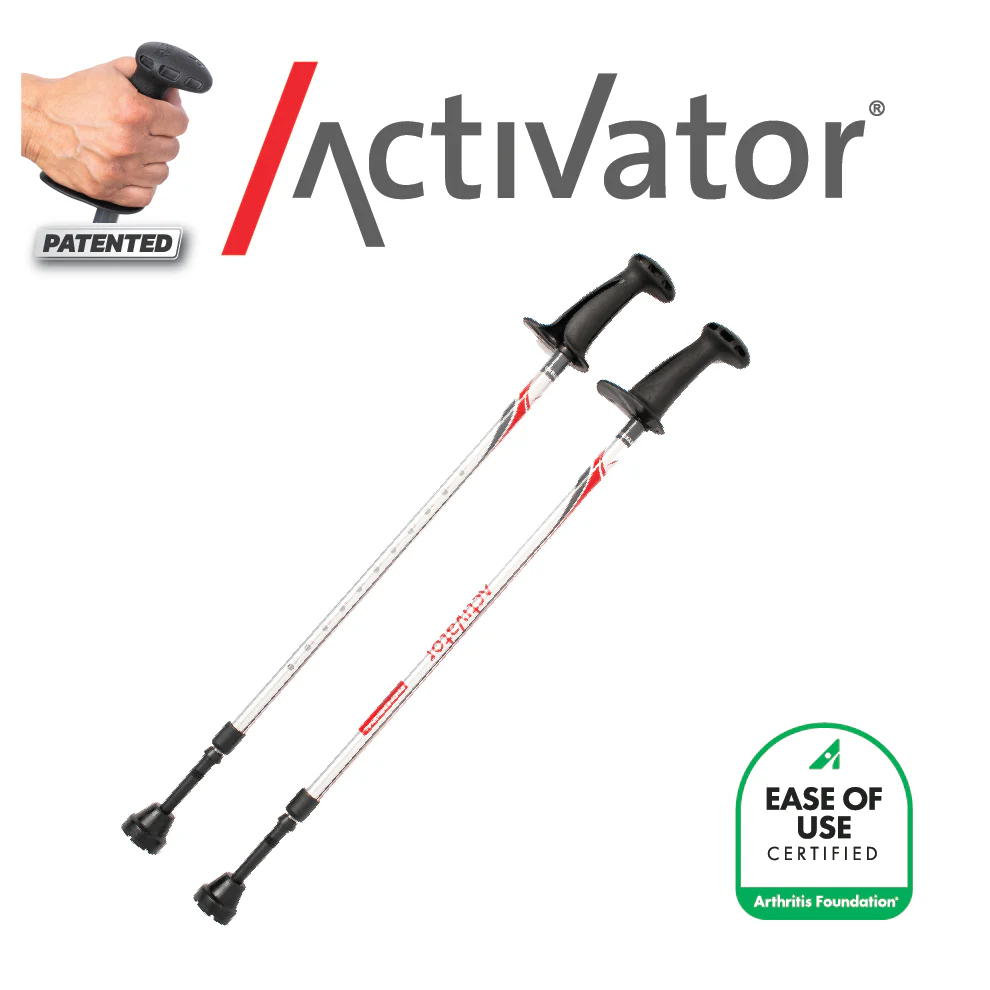
Activator Poles (Silver-Red)

Activator Evening Black
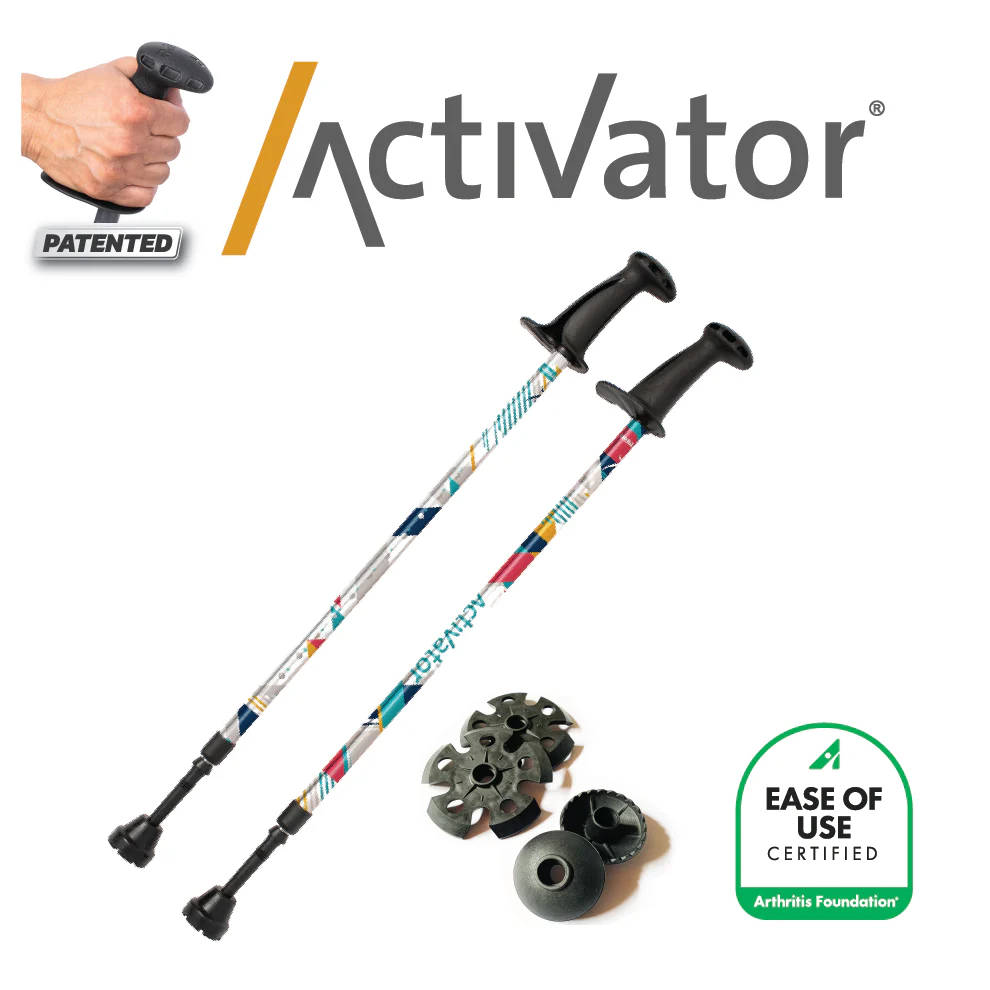
Activator Moda
Activator 2 Poles
have the same features as above with these differences:
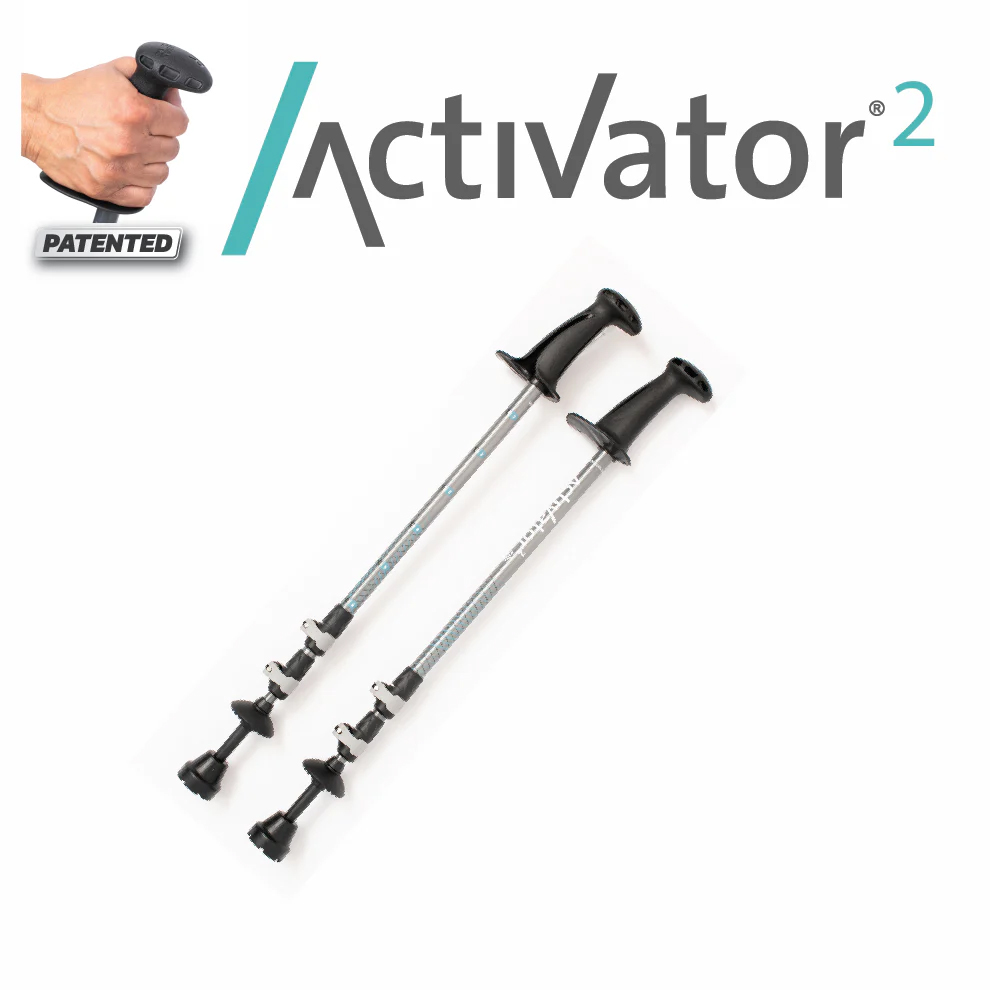
Activator 2 (3 sectional)
Important: This technique was developed in conjunction with the specific features of the ACTIVATOR poles. A study by Bechard (2015 unpublished) at UWO found significant off-loading for the knee joint when using the Activator technique.
Read carefully through the User’s guide and the precautions listed before using your ACTIVATOR Poles (guide comes with your poles).
Did you know that there are 19 current/recent studies on the ACTIVATOR® Poles at hospitals and universities across Canada and at the renowned Royal National Orthopedic Hospital in the UK? Benefits may include improved core strength, posture, balance, improved confidence for walking; reduced impact on hips and knees and increased endurance! Health Care Professionals are recommending the ACTIVATOR® Poles for rehab and many conditions because they were designed by an Occupational Therapist & Gerontologist and have eight unique features for increasing safety, performance and stability. We hope you enjoy the ACTIVATOR Poles that have been built for walking and active living!
Consult your health care professional (physician, therapist or other) before using the poles if you currently use a cane, crutches or walker; for training; or any medical condition that affects your balance, stability, ability to grip the handles, vision, depth perception or coordination; or if you are currently recovering from an injury or surgery.
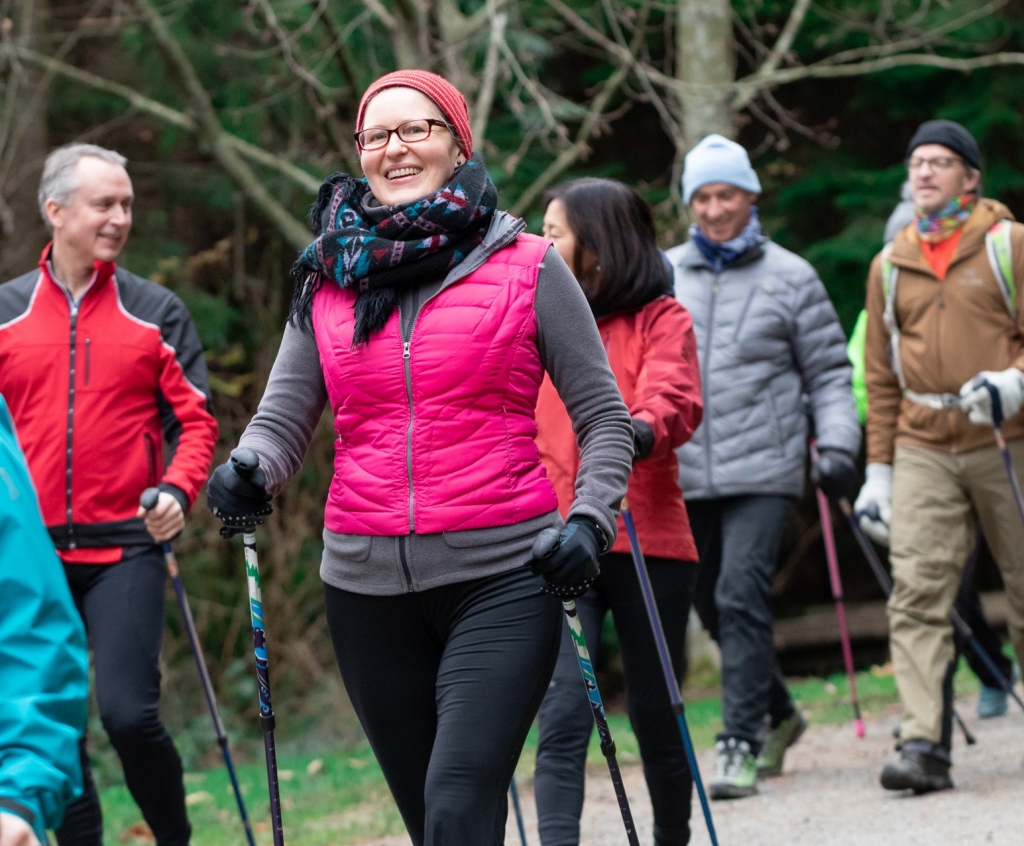
Curious about the walking pole workout? Urban poling (also known as Nordic walking)—think cross-country skiing without the skis—has toning, calorie-burning and posture benefits that have made it popular in Europe for decades and a new workout favourite in Canada. Just grab your poles and go—no need for a pricey spandex outfit or a fancy gym membership!
When you first get your poles you will need to adjust them to your height. The poles have an internal twist locking system which can withstand up to 90 lbs (41 kg) of direct pressure per pole. Suggested maximum weight of user: 225 lbs (102 kg). There are markings on the bottom section of the poles ranging from 4′-2” to 6′-2″ (128 to 189 cm). If you are a novice or new to poling, you may find it easier to start off with poles that are set 2 inches (5 cm) below your height.
Step 1: Locate the words “lock/unlock” on the bottom section of your pole. Place your left hand on the top section of the pole and your right hand near the bottom of the pole. Turn only the bottom section to the “unlock” position. Do NOT touch the black plastic ferrule at the mid-section of poles – this is an anti-vibration feature.
Step 2: After adjusting the pole to your height, tighten it again by turning only the bottom section of the pole toward the “lock” position. Always make sure your poles are securely locked before use. Never pull the poles or lock them beyond the words “Max” or “Stop”.
Step 3: Make sure that the “toe” of the boot is facing behind you or in the opposite direction in which you are walking.
Before beginning, be sure to adjust the pole length to your correct height.
Step 1: Notice how you walk naturally
Take a few steps forward without your poles (or while holding your poles in the mid-section) and swing your arms as you would normally when walking. Notice that your arm naturally moves forward at the same time as the opposite leg.
Step 2: Drag your poles
Take hold of your poles, making sure that the CoreGrip with the letter “R” is in your right hand and the CoreGrip with the letter “L” is in your left hand. Grip the pole handles loosely, with your arms hanging completely relaxed by your side. With your arms at your side and dragging the poles behind you, simply begin to walk. Feel your arms naturally swing slightly in front and then behind your body with each stride.
Step 3: Swing your arm into the handshake position
As you continue walking and dragging your poles, start swinging your arms further forward until they are at the same level as if you were offering a high handshake. If you are finding this difficult, shorten the length of your poles. At this point, you should feel the tips of the poles catching the ground behind you with each step.
Step 4: Press down and push off
As you plant your poles, apply downward pressure on the ledge of the CoreGrip and feel your body being propelled forward by the poles. Finally, as your arm swings forward to the high handshake position, lift slightly so your poles can clear the ground.
Enjoy your Urban Poles all year around with winter walking & snowshoeing! You can also purchase basket attachments for the Series 300, 4Life or Spirit Poles and ACTIVATOR Poles: snow baskets for winter walking and trekking baskets for hiking.
Grip the handles lightly
The ergonomic CoreGrip (handles) are designed to be held lightly. Always strive to maintain a relaxed grip (with your fingers all the way around the handles) to reduce unnecessary tension in your hands. The workout comes from a downward push on the Ledge of the CoreGrip as you swing your arm back to engage your core muscles.
Adapt your poles to different terrains
Hidden beneath the rubber boot tip of each pole is a sharp carbide steel tip, which provides increased stability on wet and uneven terrain, such as grass, gravel, sand and snow. This is a great tool to help prevent falls in the winter time.
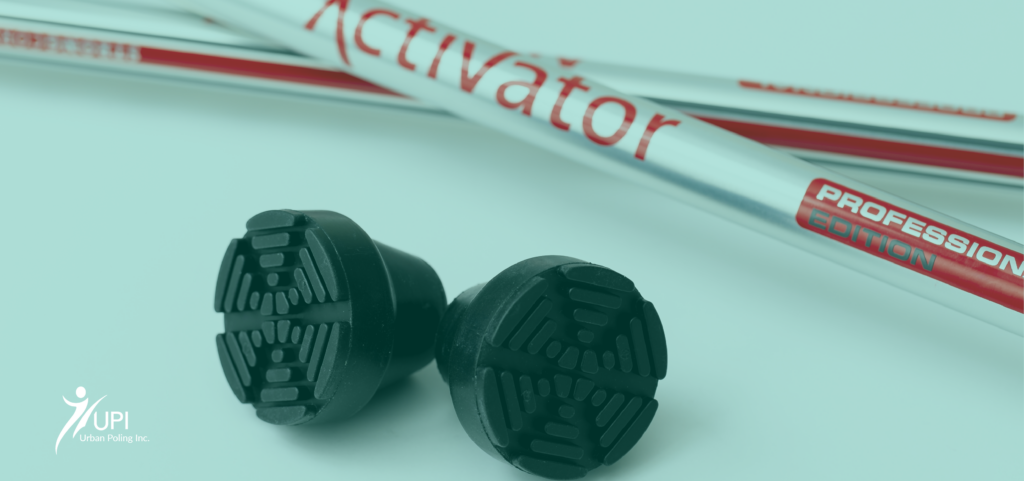
Replace your tips periodically
Your Urban Poling fitness poles come with a high-grade rubber tip for improved traction, increased speed and reduced vibration. Replace your boot tips when the treads wears out, or roughly every six months or annually depending on the frequency of use.
Using your poles in very cold temperatures
If using the poles in temperatures below zero, place the poles outside for 10-15 minutes so they can adjust to the temperature. Then lock them at the desired height.
Trick for unlocking the poles
The poles have an excellent locking system, but new poles may be tight to unlock the first few times. Try this: Flip the poles upside down and hold the handle tightly between your feet. Then, using two hands, turn the bottom section sharply in the direction of “unlock”.
Take care of your poles
Store your poles in a dry, moderate-temperature location. Never use lubricants of any kind. You can also purchase our unique & stylish carrying bag for travel and storage.
Precautions:
Consult your physician or therapist before using the poles if you currently use a cane or walker, have any medical condition which affects your balance, stability, grip strength, vision, depth perception, judgement or co-ordination or if you are currently recovering from an injury or surgery.
Enjoy Exclusive Offer of 15% Off Activator® or Urban Poles & a BONUS GIFT when you sign up for emails*
Please enter your email address below
*By signing up you’ll receive news on the latest health benefits, research, and how-to’s to make the most of your poles & for optimal health! You can withdraw consent at any time.
*Valid for first time registrants. Applies to regular price items only.